
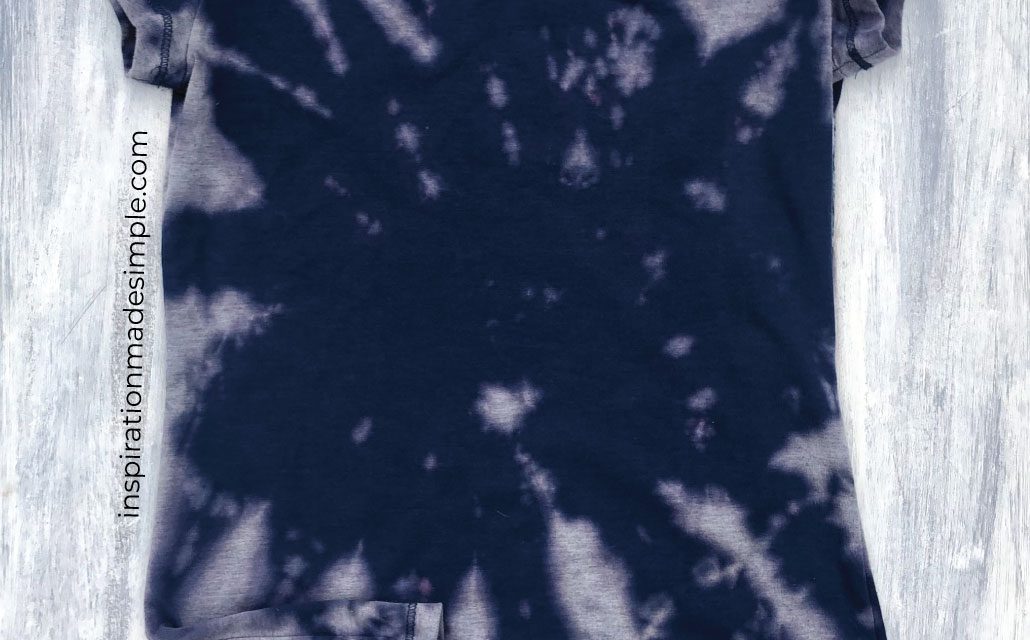
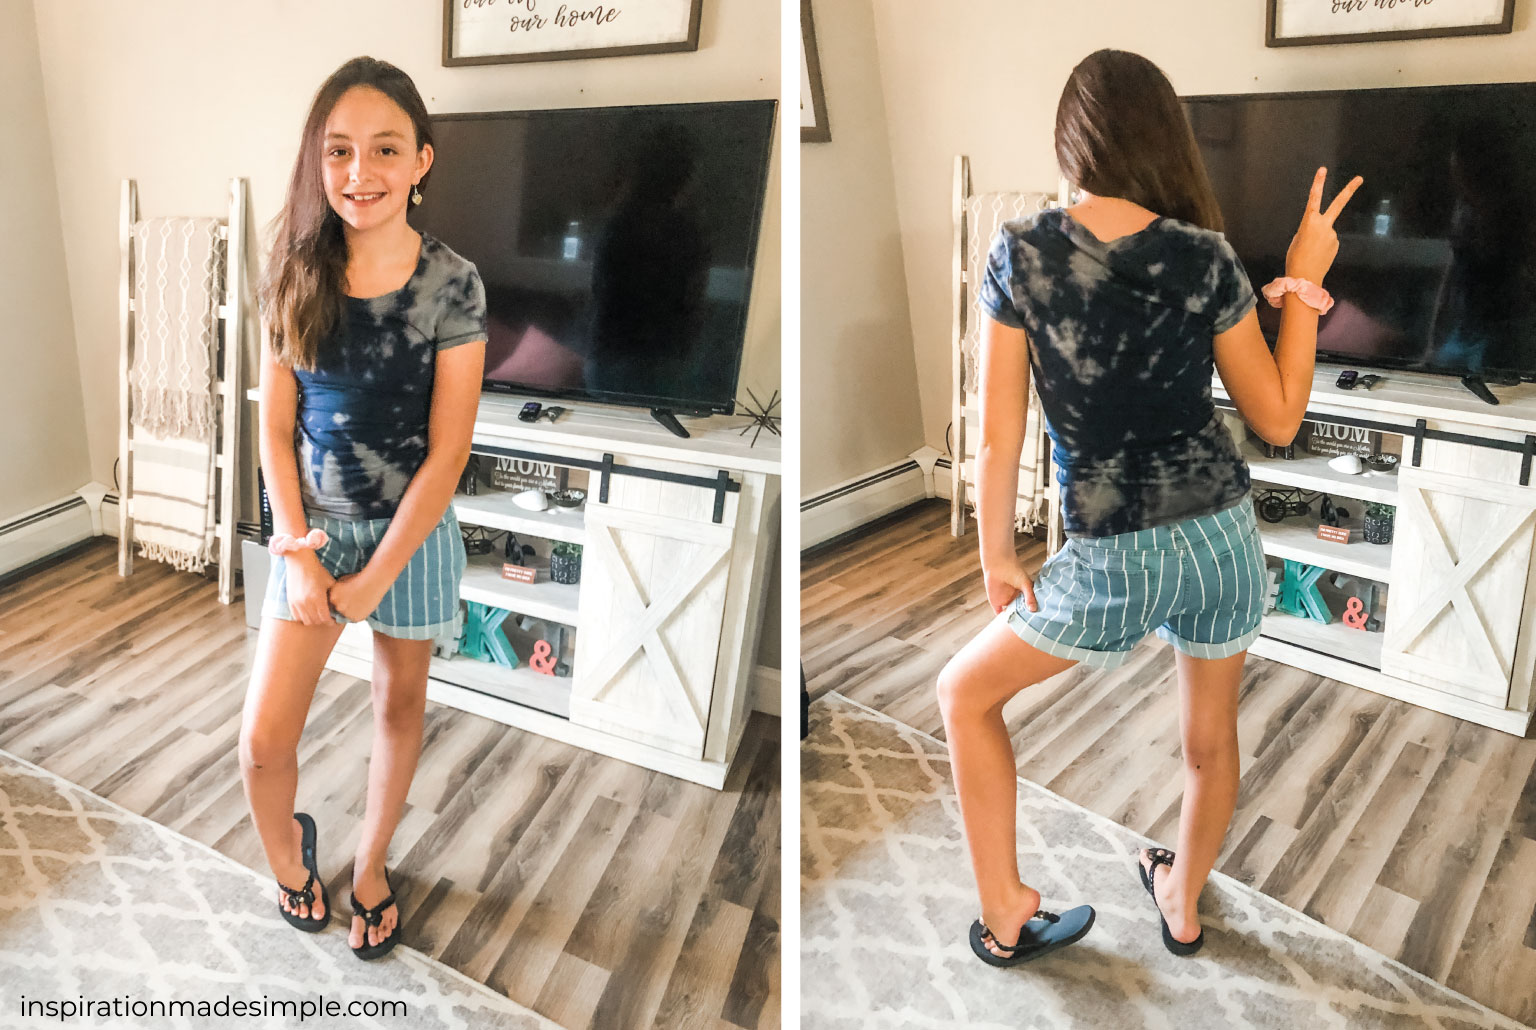
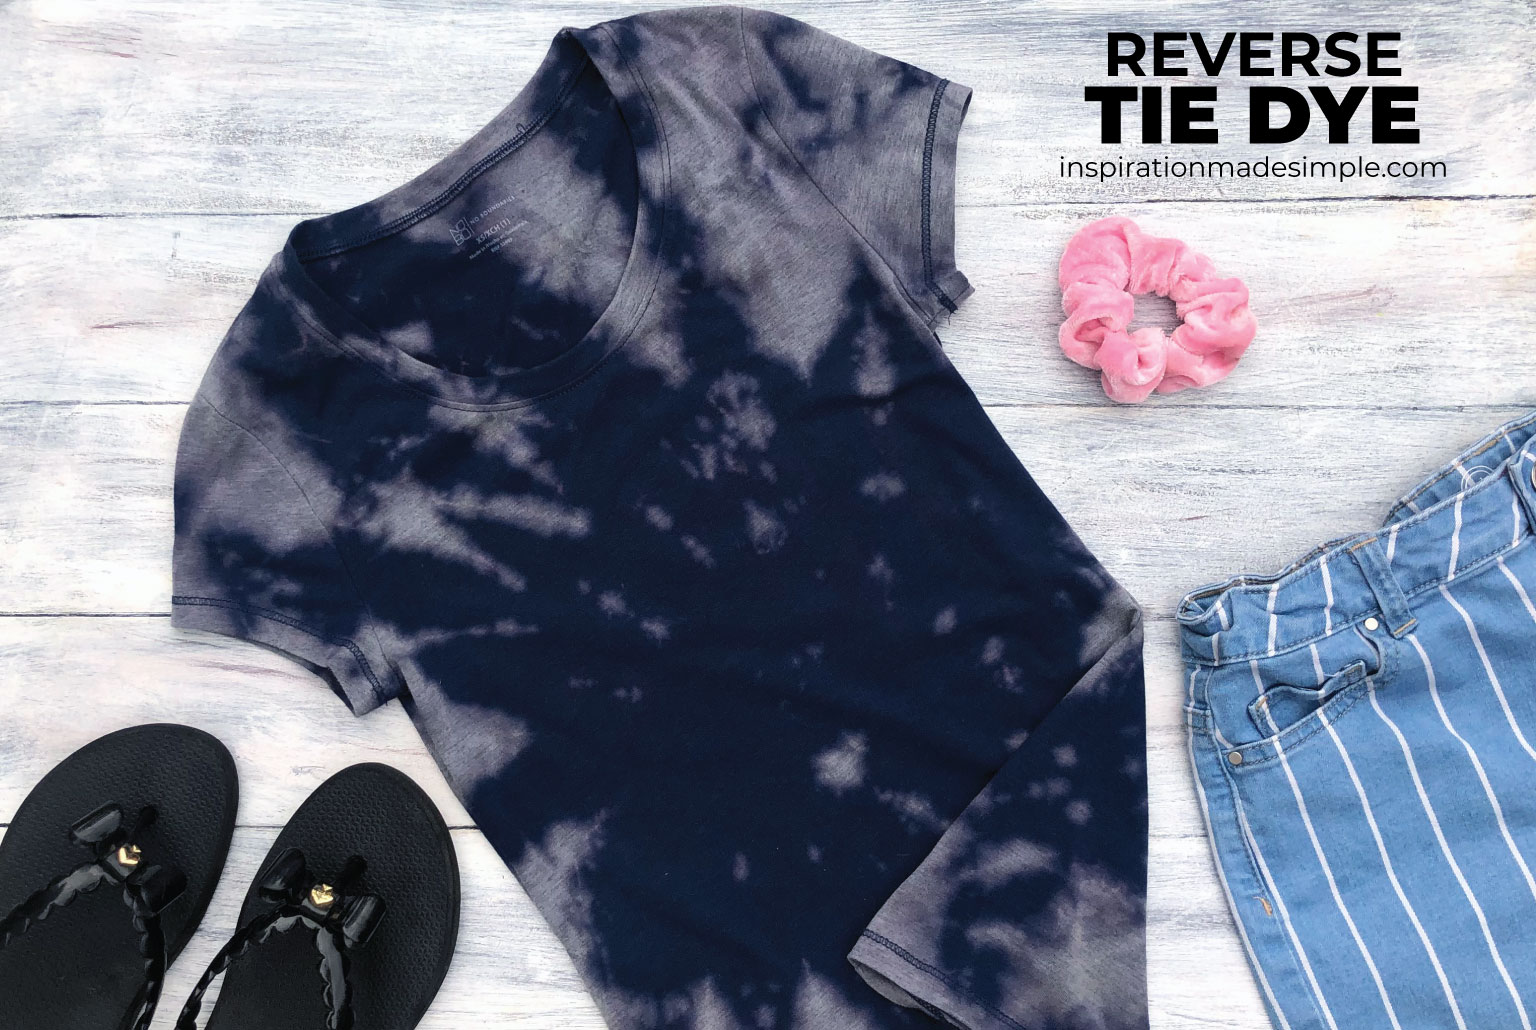
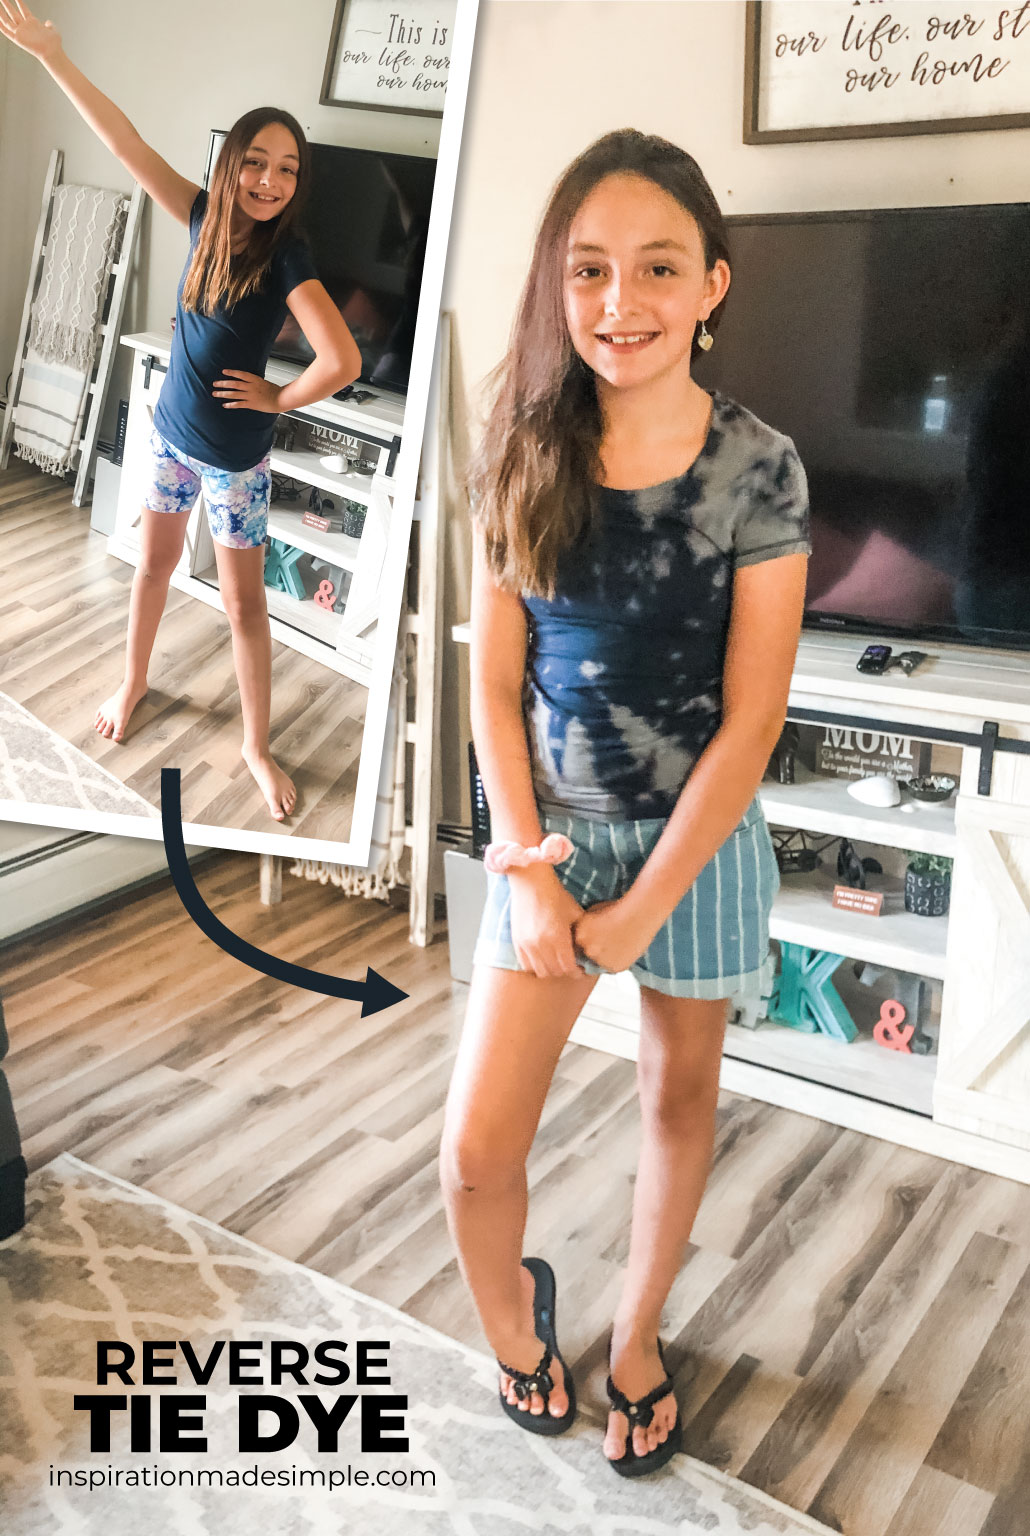
Olivia and I are loving the tie-dye trend. The big comfy sweatshirts and pants, tie-dye bike shorts, tees – all of it. There are so many varieties and colors to admire. It has been a while since we’ve done any tie-dying, so this past weekend we decided to take one of the easiest approaches – Bleach tie dying!
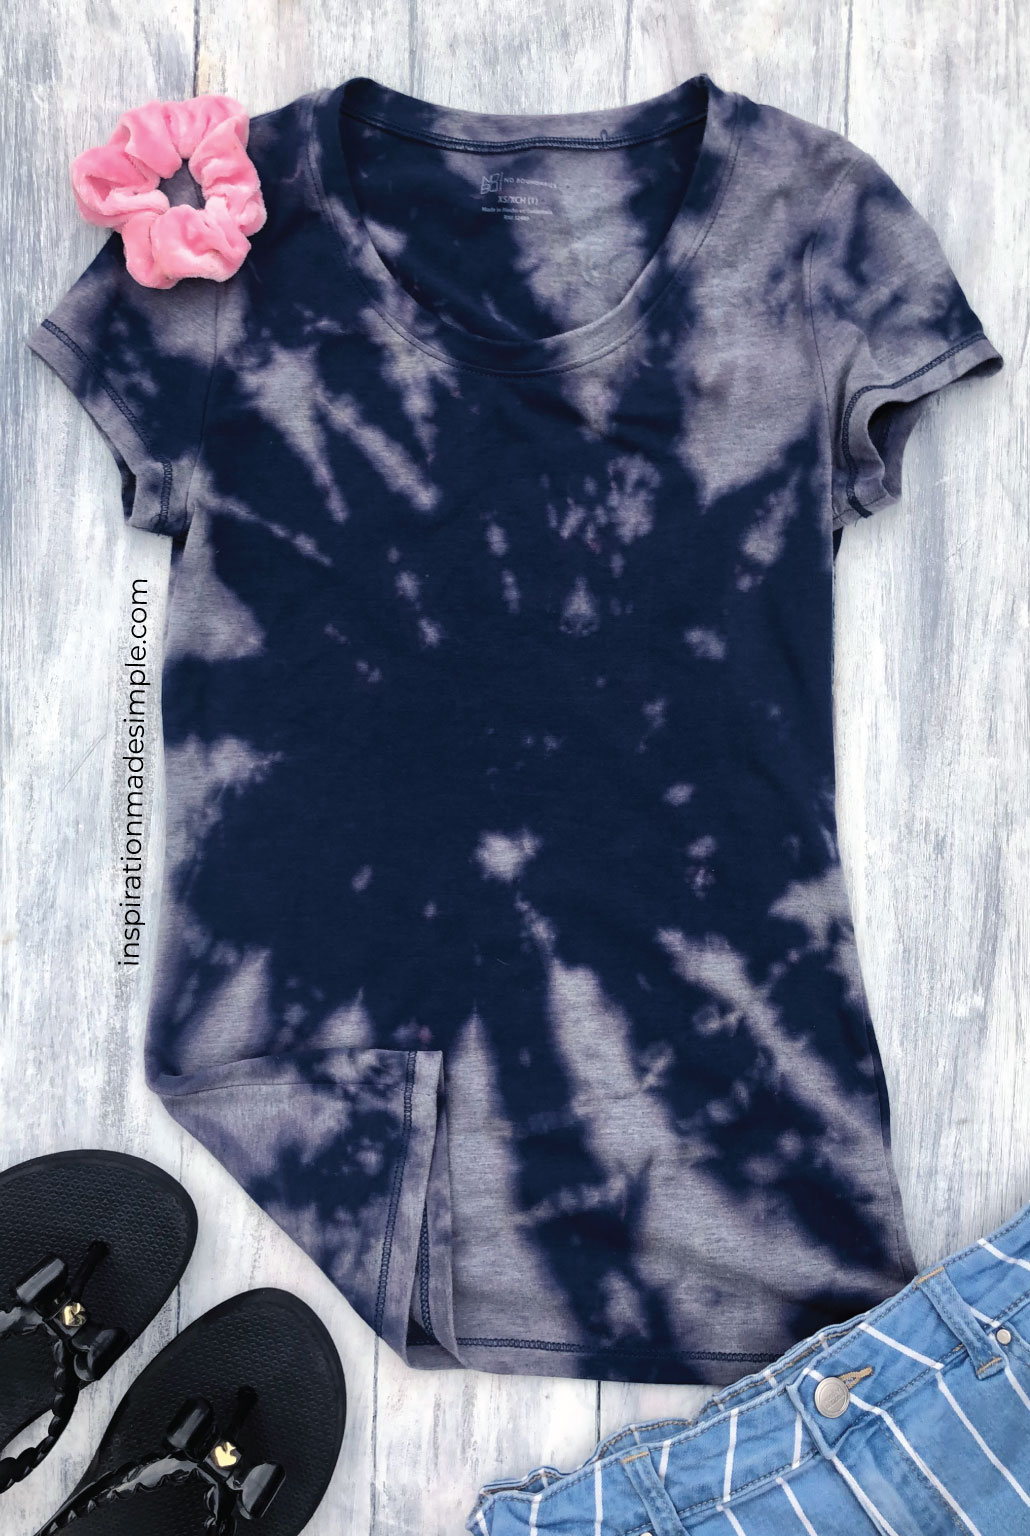
I’ve made several shirts with bleach dye shirts, including this Bleached Lucky Shirt, in the past, and it’s always so simple. Reverse tie-dye with bleach takes only 2 ingredients and under an hour to create a cool and unique shirt. Here’s how we made this stylish swirled shirt that Olivia is excited to show off.
Tie Dying with Bleach Tutorial
Supplies:
Dark Colored T-shirt – cotton and linen works best
Bleach
Spray Bottle – if you have a hard time finding these, check the hair aisle at a big box retailer
Rubber Bands
Rubber Gloves
Instructions:
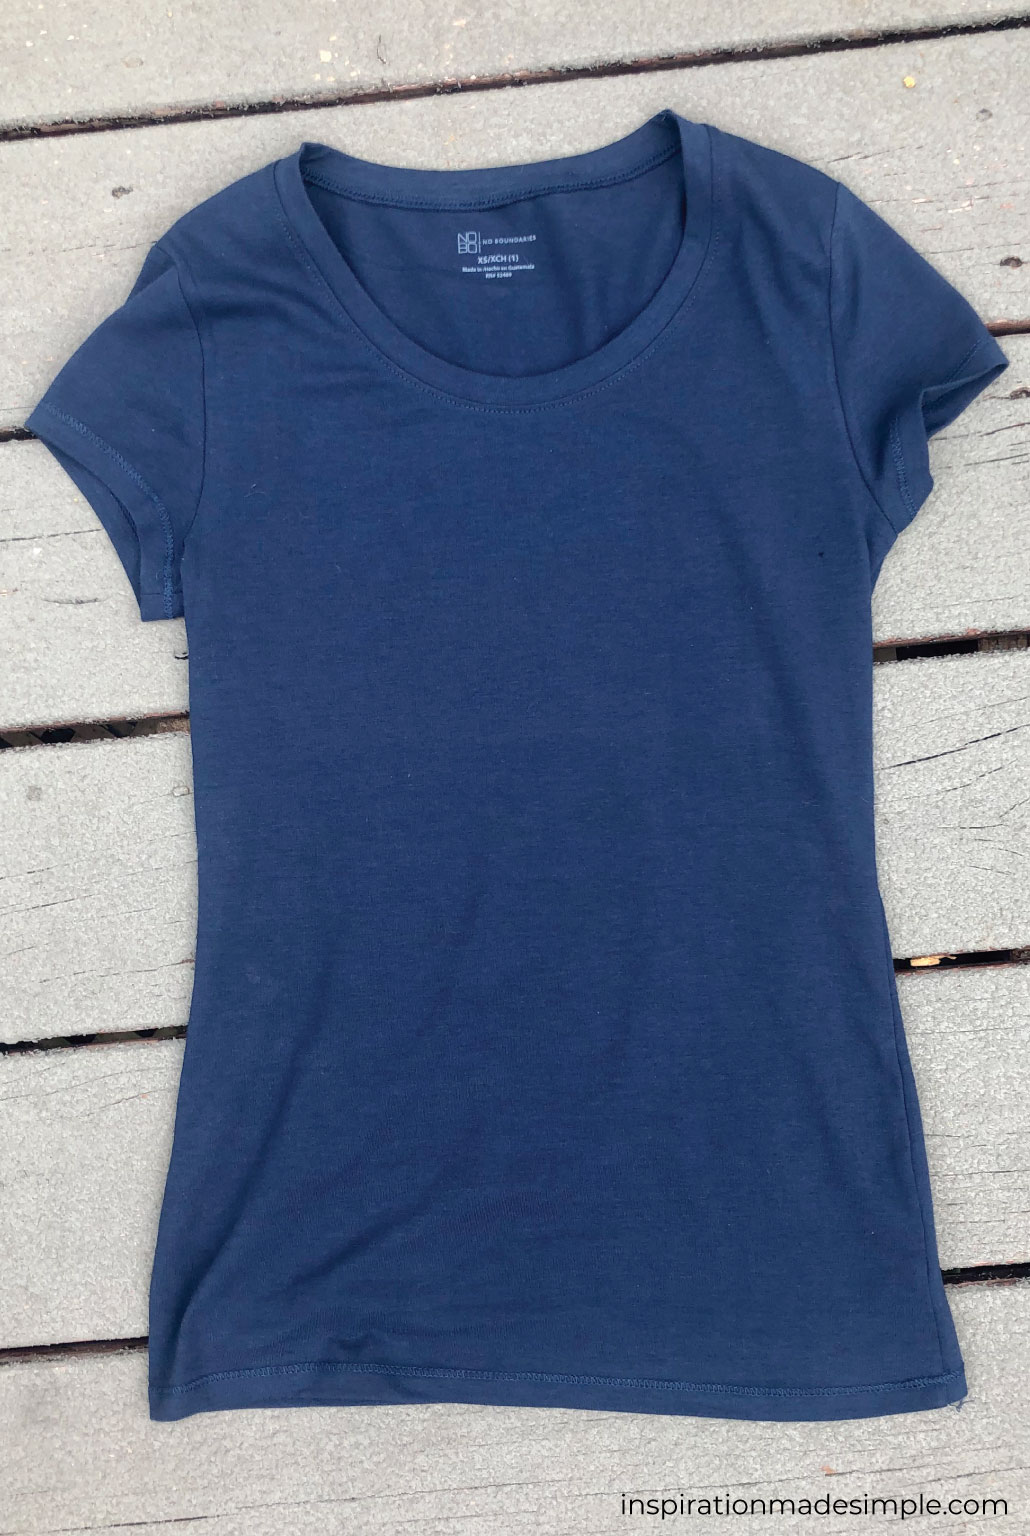
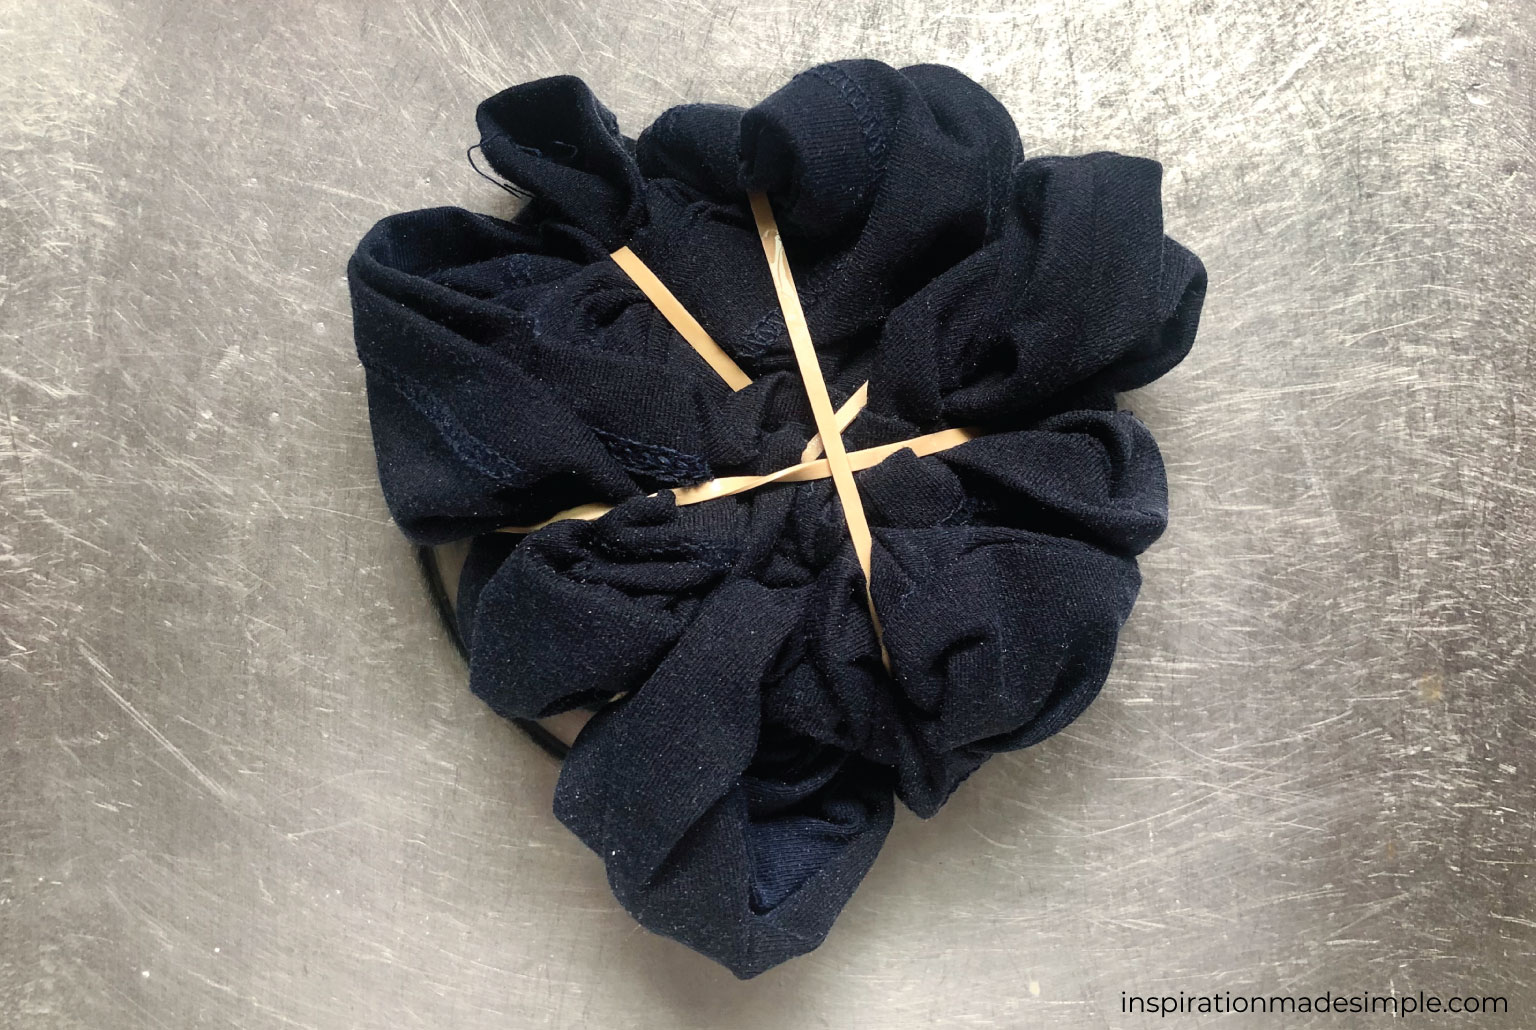
To accomplish this, lay the garment flat. Decide where you want the pattern to be – we chose the center of the shirt. Pinch the middle and then start turning, twisting, and scrunching it in one direction.
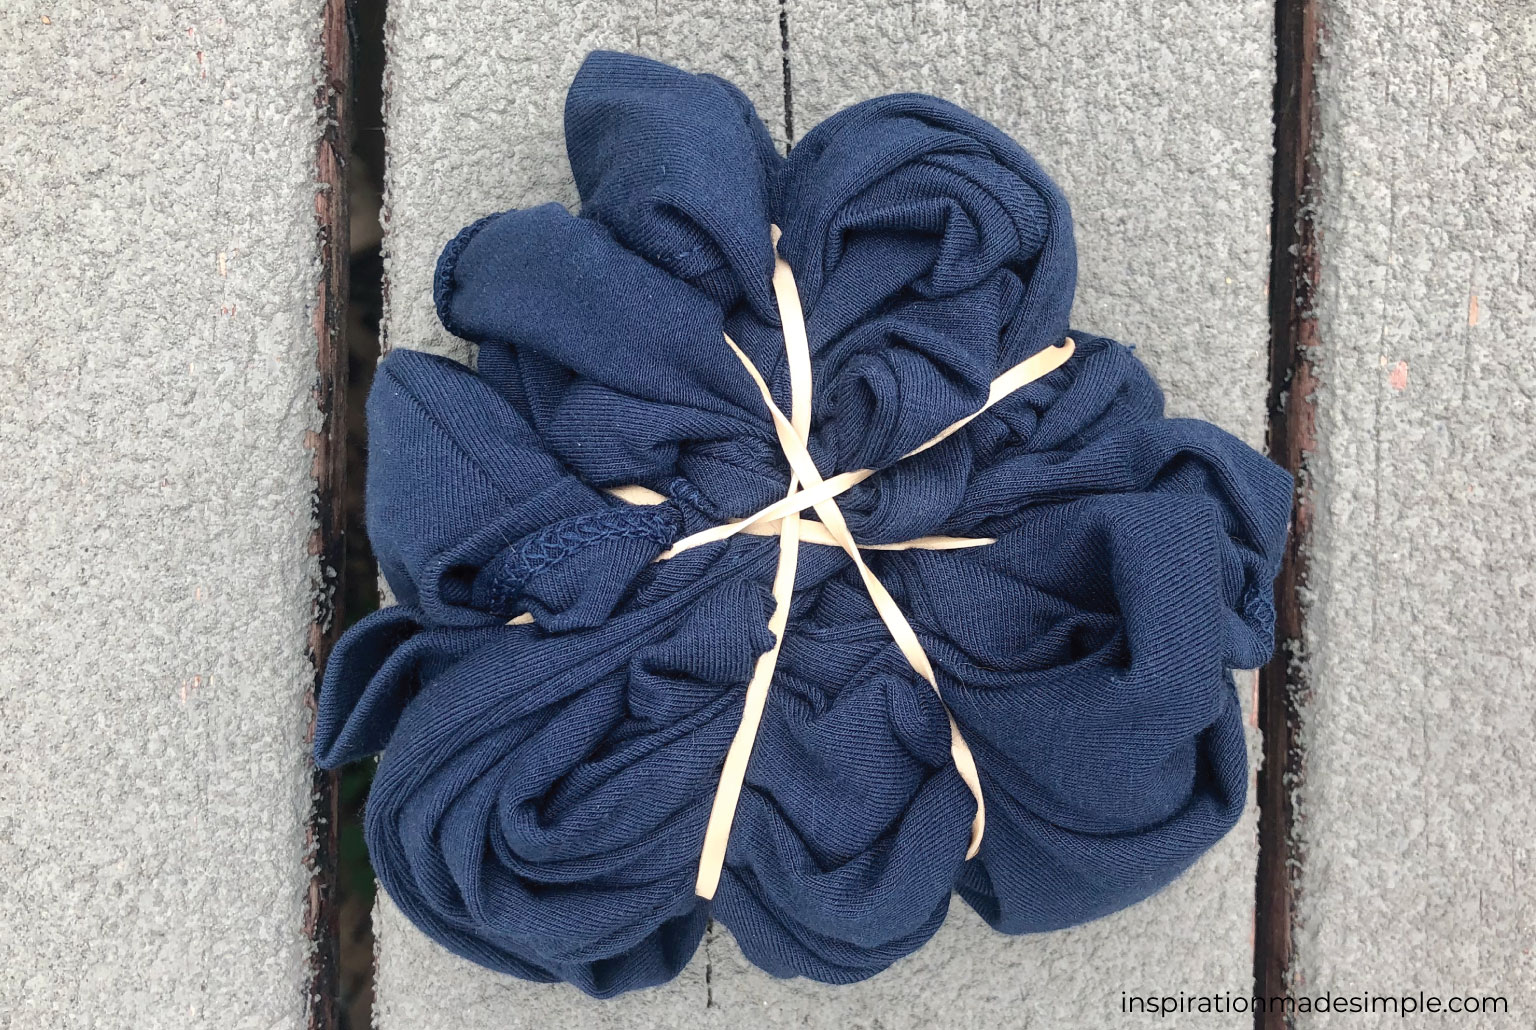
Once it is all bunched up, use rubber bands to secure it in place – creating “pie pieces”. We used 4 rubber bands for 8 sections.
Fill the spray bottle with equal parts water and bleach.
Place your shirt on a protected surface in a well-ventilated area. We used our kitchen sink – right over the drain – with the window open to let out the fumes. You can also lay down a plastic sheet and place the shirt on an elevated baking cooling rack so it doesn’t sit in a puddle of bleach.
Spray the shirt with the bleach solution, soaking it thoroughly.
Turn it over and do the other side.
Don’t forget to get the edges.
Allow it to sit for 10 minutes. Note: bleach can damage fabric if left on for too long.
We moved the shirt outside where there was a nice breeze and it allowed it to lighten a bit quicker. The color change doesn’t look super dramatic at first, but keep in mind that the colors will look lighter after washing and drying.
After 10-15 minutes, it is time to rinse it! Using cold water, remove the rubber bands and rinse the shirt.
Ring the water out of the shirt.
Toss it into the washing machine, with detergent. Dry it in the dryer and you’re ready to wear your new reverse tie dye shirt! Do not put the bleached shirt in with other laundry until it has been washed separately!
This is such a simple and fun DIY project with regular household bleach. No tie-dye kit required! And the best part is that it can be applied to so many different things – socks, napkins, jeans, sweatpants, a beach towel and more.


