
Post contains affiliate links.
Cricut invited me to attend the Cricut Mountain Make-a-thon as an influencer earlier this week and luckily I was able to attend. At the Make-a-thon, CEO Ashish Arora announced three new and amazing products: the Cricut Brightpad (available now), the Cricut EasyPress (available 8/20), and the crown royale, the Cricut Maker. I have been a Cricut fan since 2009 when my husband bought me my very first personal cutter for Christmas. It is a product I regularly use while crafting, so I was happy to meet the many talented people that make up the Cricut team and learn more about what advances the company was making with their products.
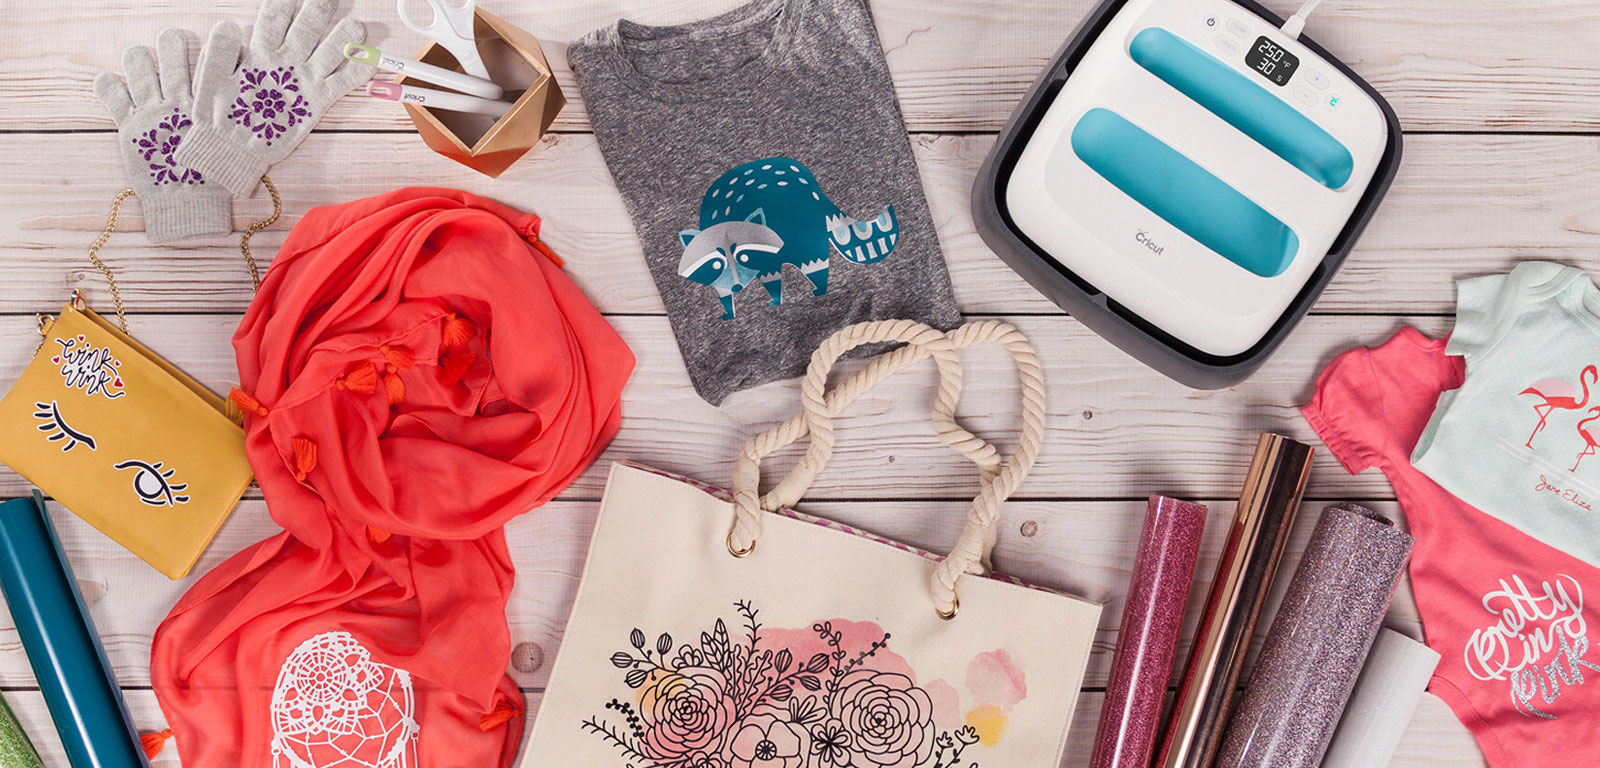
Photo via Cricut
I was stoked about all three of the new items, because they are all useful crafting products, but since I have been shopping around and pricing out heat presses, the EasyPress really caught my eye. I’ll share more on the Brightpad and Maker in another post, but for now, let me introduce you to the Cricut EasyPress.
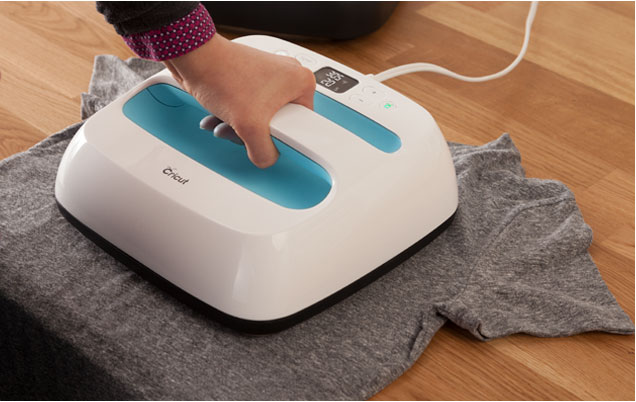
Photo Via Cricut
What is it, you ask? It is a small, compact unit that gives you professional iron-on results! If you’re like me and use your Cricut to make all sorts of DIY Heat Transfer Vinyl shirts, then you’re going to love this handy little machine!
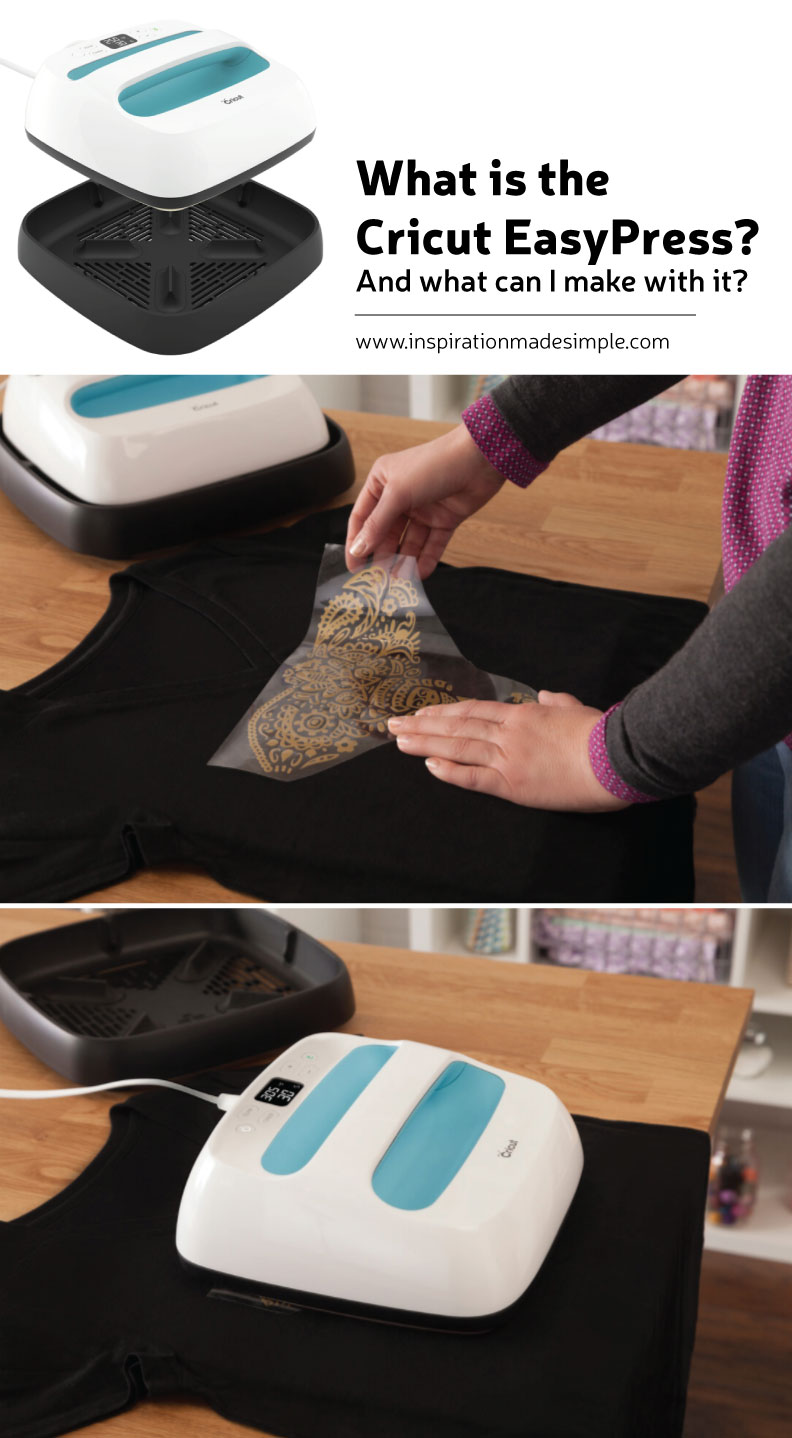
It is better than an iron due to its evenly heated plate and heat controls. Heat presses work well, but they are expensive, big and bulky, and cause burns if you’re not careful while reaching inside. The design of the EasyPress makes it much safer to use. It comes with a stand that it sits in, which protects little fingers from the hot plate.
Photos via Cricut
So how does it work? It is super simple and easy to use. Simply set the temperature and time of the unit depending on the iron on material you plan to use and let the machine warm up. Once it reaches the desired temperature, place it on the piece of material (ie: shirt) you plan to adhere the iron on vinyl to. Let it warm up the material for a few moments and then place the unit back onto its stand.
Lay the iron on design onto the shirt. Place the EasyPress over the vinyl and press the Cricut button. Place light by firm pressure onto the machine, holding it in one spot. The timer starts to count down, ensuring that you don’t overheat the vinyl. Once it hits 0, the device beeps, alerting you to remove the unit. If you are adhereing a larger design to the shirt, you’ll adhere the vinyl in sections. Once you finish the front, flip the shirt over and do the same for the back.
Allow the vinyl to cool for a moment or two before peeling back the protecting plastic sheet. If the vinyl pulls up, simply press it one more time, allow to cool and then peel.
Where can you get one? The Cricut EasyPress is due in retail stores August 20th and will retail for $149.99. It will also be available via www.cricut.com.
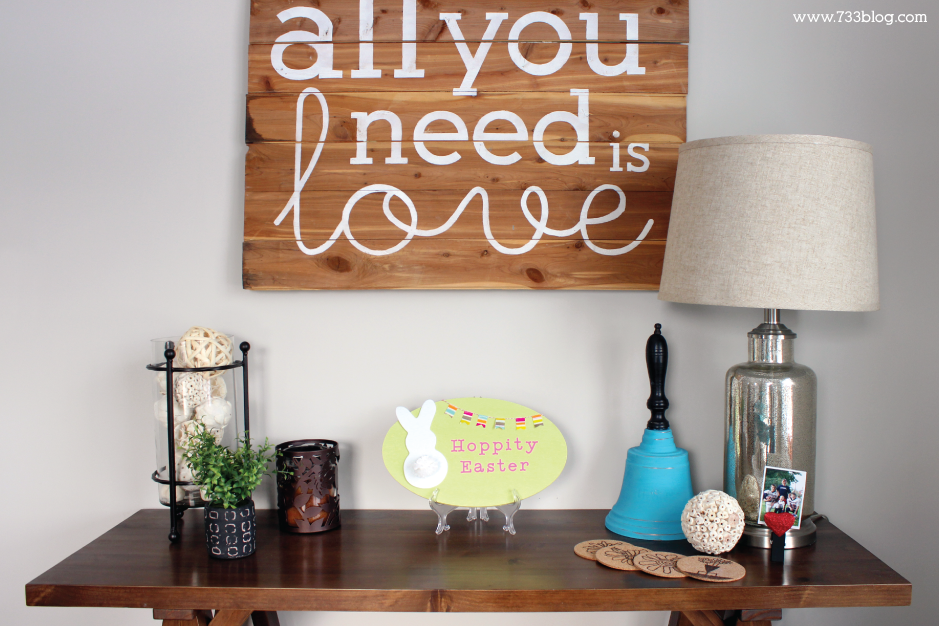
Final Thoughts: I had a chance to get hands-on with this little press and I fell in love. The heat plate measures 9″x9″ – it’s small and compact and can easily fit in a cupboard or on a shelf. It is light weight and easy to use. Thanks to the EasyPress, iron on projects just got easier for the home crafter! They’ll last longer through repeated washes and will have a more professional result. I, for one, cannot wait to have one at home so that I can create all sorts of totes, shirts and more!
What do you think? Will you be looking into getting an EasyPress when they hit stores? How do you currently apply your heat transfer vinyl?
Check out the EasyPress in action, in this very shaky (darn you, Essential Tremors!) Facebook Live video I filmed during the Make-a-thon:
Disclosure: Cricut invited me to attend the Make-a-thon and provided me with travel and accommodations. All opinions are my own.


