
This is a sponsored post written by me on behalf of Cricut. All opinions are 100% mine. Post contains affiliate links for your convenience.
You may have heard that Cricut came out with a new Maker earlier this year. I have loved my original Maker since the day I got it and use it fairly regularly. Cricut recently sent me the Cricut Maker 3 and today I’m going to share with you the differences between the two, as well as show you a project I made with the Cricut Maker 3 straight out of the box! So read on to learn about the Cricut Maker vs Cricut Maker 3.

Cricut Maker 3 shown with Roll Holder accessory (sold separately) and Smart Material Vinyl
Let’s start with the key differences between the Cricut Maker and the Cricut Maker 3:
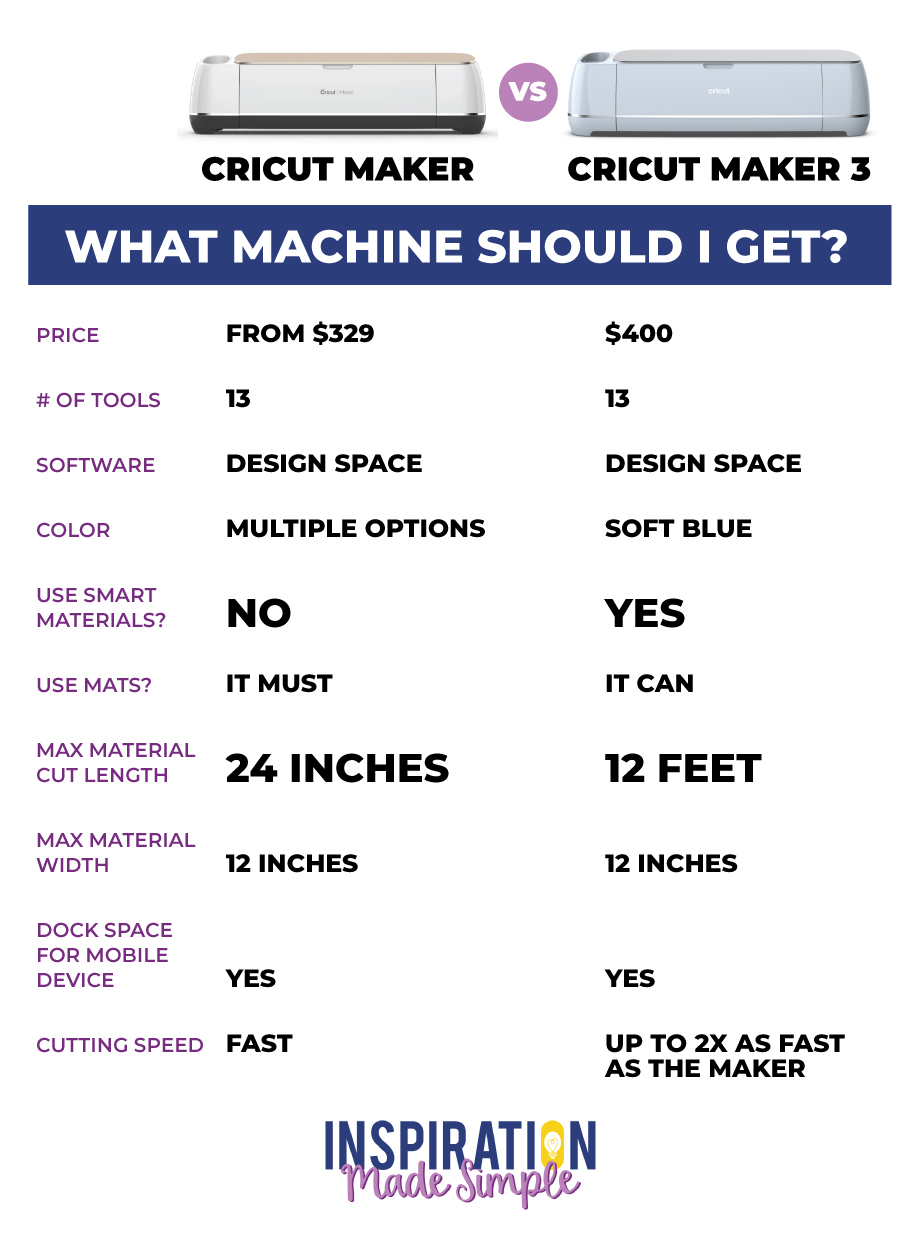
As far as functionality, the two machines are almost identical. If you decide on the Maker over the Maker 3, you are not getting any less of a machine. I have been very happy with my Cricut Maker over the last several years and it is still going strong. What you do get with the Cricut Maker 3 is the ability to cut material up to 12 feet long thanks to the new Smart Materials.
What are Cricut Smart Materials?
Smart Materials are slightly wider and have a stiffer backing than regular materials. This allows them to feed directly into the machine without using a mat. Because you can make one long, continuous cut up to 12 feet in length, your big projects can go a lot faster than they would if you had to load and re-load your mats. This, if you’re using vinyl this also means no more piecing things together once you’re ready to apply it. Along with the new Maker 3, there is a new accessory to help manage the Smart Materials called the Roll Holder. It does exactly what it says and holds the rolls of smart materials as it is being fed through the machine (see image at top of post).
Should you upgrade to a Cricut Maker 3?
If you already own a Cricut Maker, it may be worth upgrading if you do a lot of larger projects – think a banner or large wall mural. Doing so with the Cricut Maker would take more time and effort. The Maker 3 would allow you to do a bigger project with a single cut and twice as fast as the original Maker. If you have an Explore or don’t own a machine, I definitely recommend starting with the minimum of a Maker, but for not too much more, a Maker 3 has it all!
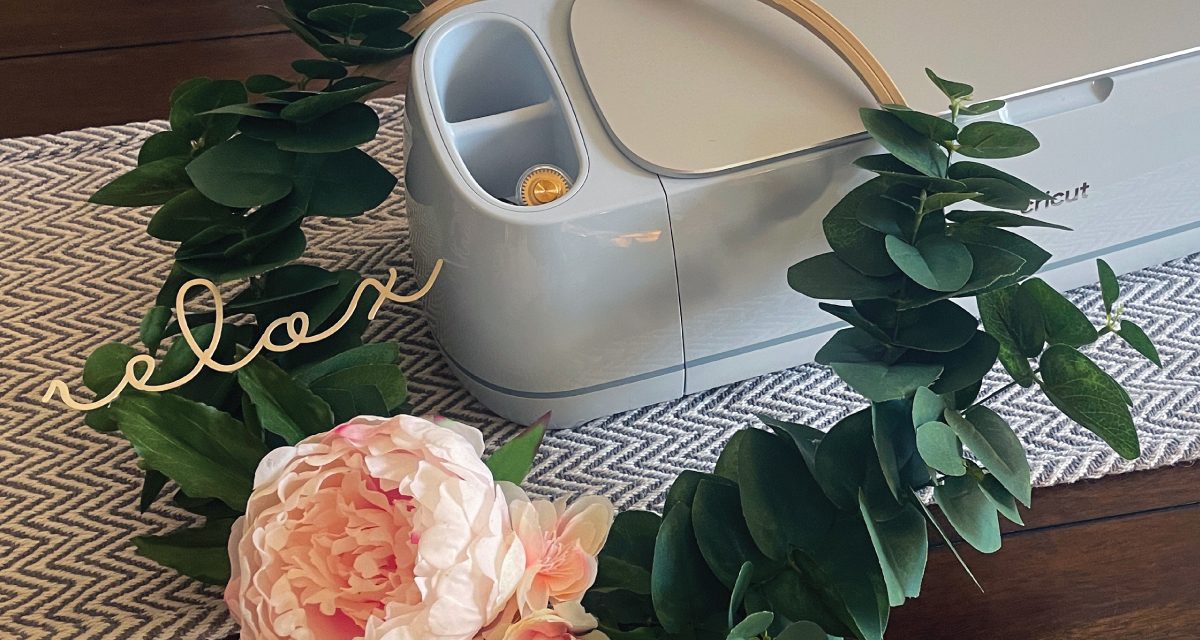
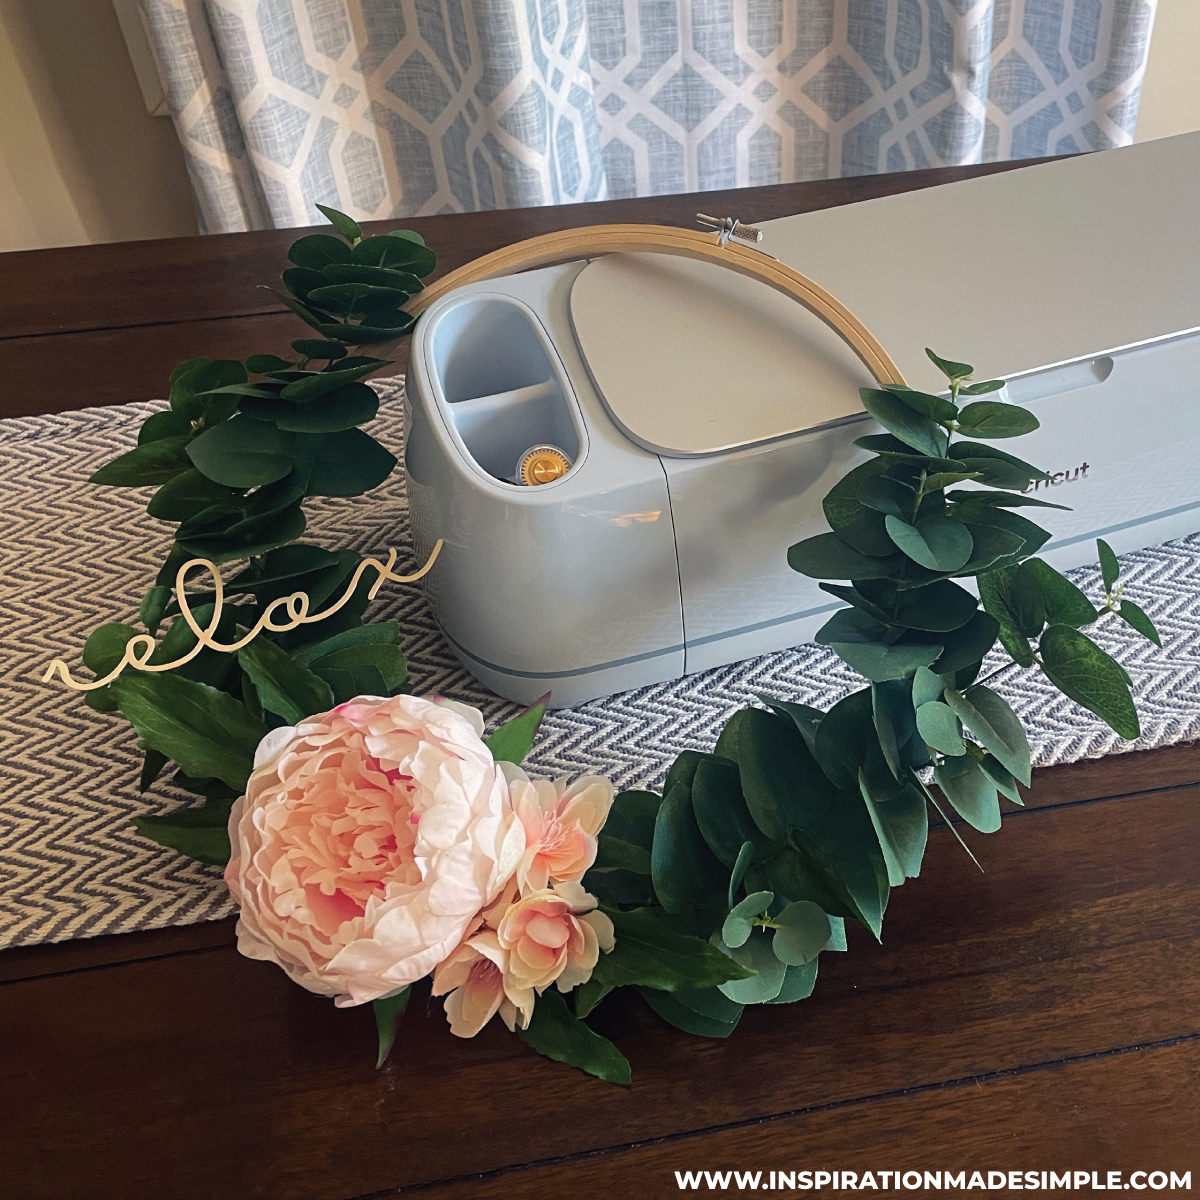
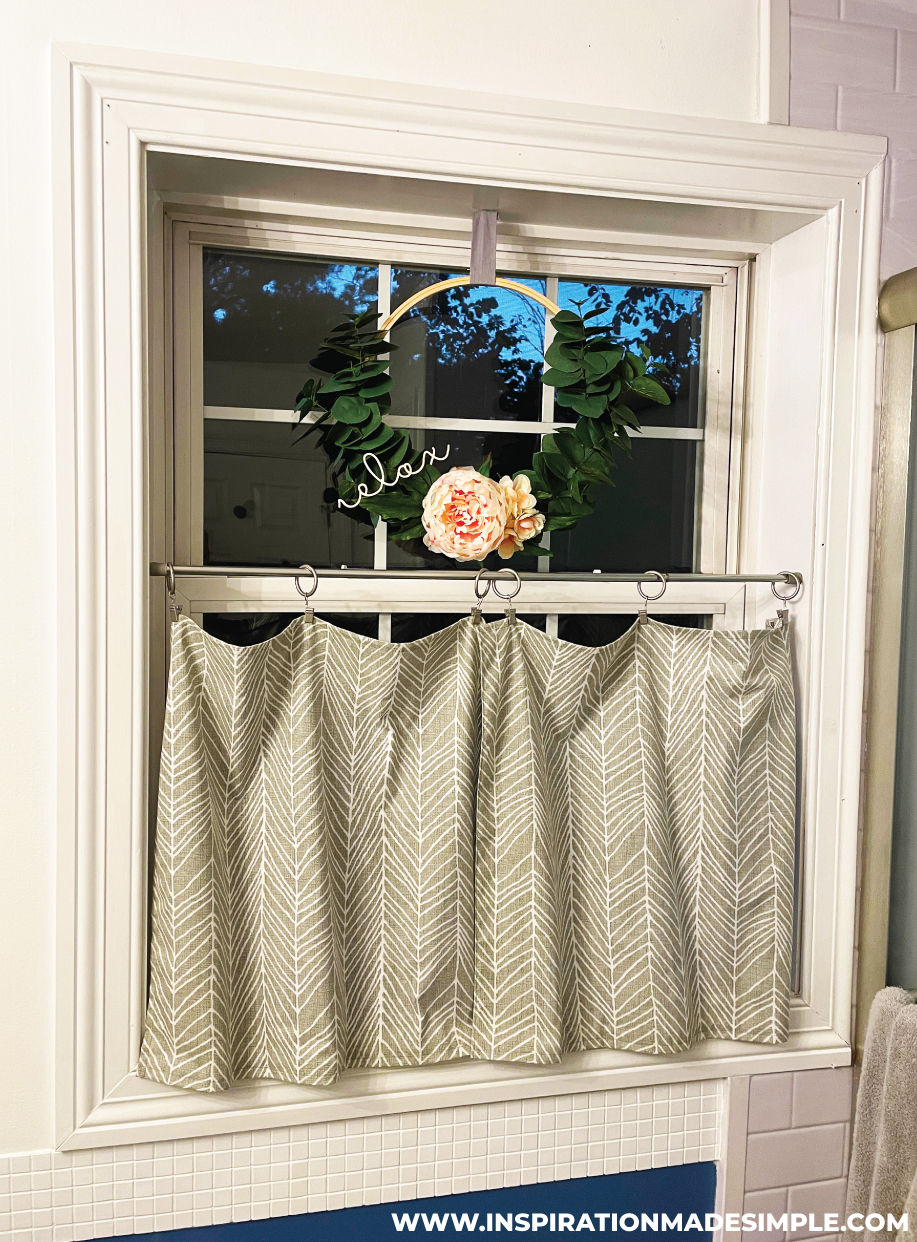
Cutting Wood Letters with Cricut
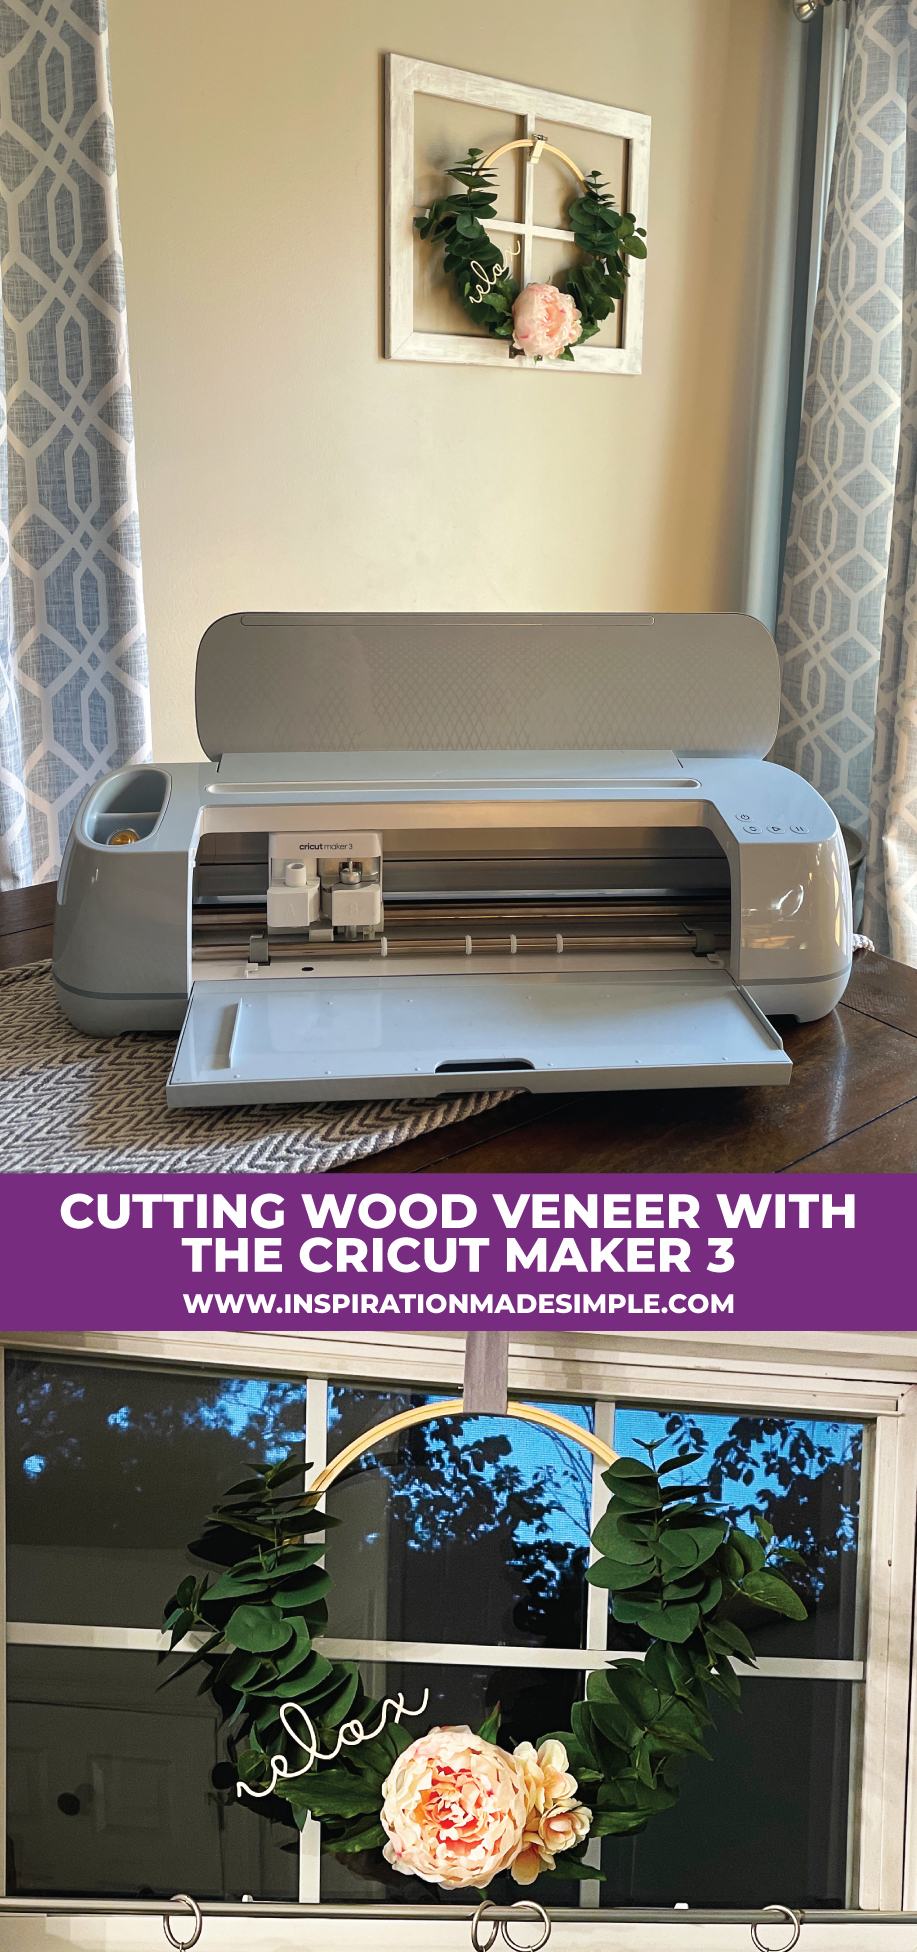
Are you ready to check out the project I made with the Cricut Maker 3? Watch the video below, which includes me unboxing the machine for the very first time and within 15 minutes I had wood letters cut and attached to my bathroom wreath!
Here are the links to the materials I used in the video above:

