

Hello! My name is Deb from Life on the Selvage Edge, where I love to share about my quilting and other projects. I’m excited to be visiting 733, one of my favorite blogs! It’s always fun to see what Kim is up to! Since I can’t sneak away to Disney with her, the next best thing is doing something crafty related to Disney!
When I saw that she was looking for some Disney inspired items, I knew this would be right up my alley. If someone were to ask me my obsessions passions, Disney is right at the top of the list, right up there with sewing and quilting! Walt Disney World is our favorite place to visit as a family, and I love planning trips and learning about all the details of the parks.

Here we are with the Big Cheese himself!
Coming up in January we’ll be doing a big family trip – including my parents, sister, brother-in-law and niece, Emma. Emma turned one in September and is fitting in to this family quite well… she has a big love for Minnie Mouse! The girl needed to be dressed to match her favorite mouse for not only our trip, but for her Minnie Mouse themed first birthday. Tulle and red with white polka dots were in order!
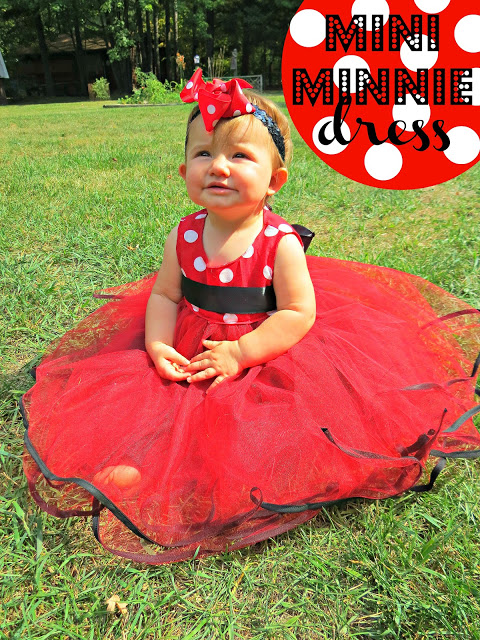
I had so much fun making this dress for her!
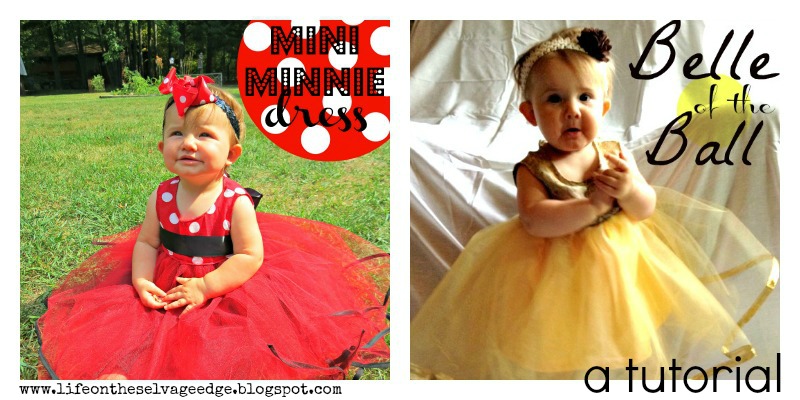
When it came to writing up this tutorial I thought at first I would make another Minnie Mouse dress. But since Emma already had one of those it only seemed right to make her the same dress, but with a different Disney inspired look. A princess can never have too many gowns!

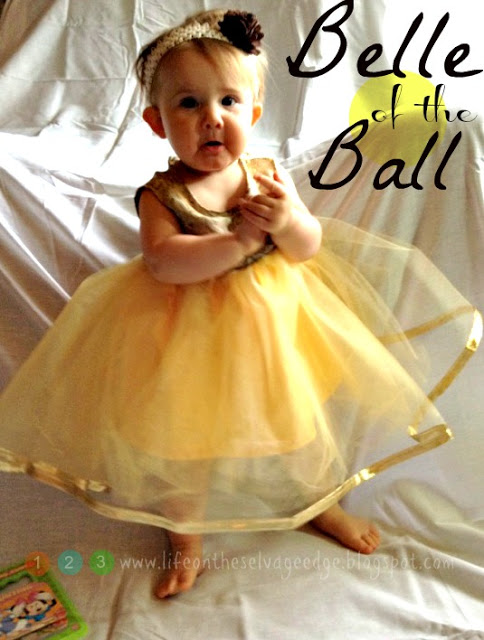
Meet our Belle of the Ball!
She loves to read and Belle seemed appropriate! Now I can think of all the other dresses to make… some Cinderella blue, Aurora Pink. Oh, and some Tinkerbell Green! There’s going to be one suitcase full of fluffy dresses if I have my way!
Let’s get going with a tutorial on how to create this dress!
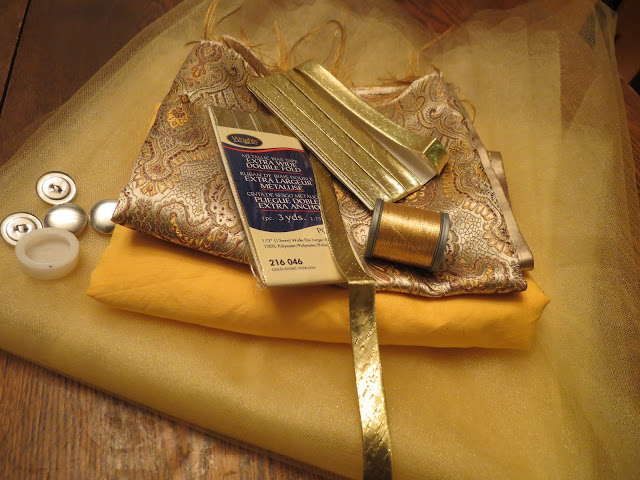
SUPPLIES NEEDED
(This tutorial is for an 18mo size)
1/3 yard fabric for the bodice
2 1/2 yards tulle
1/2 yard fabric for underskirt
3 yards double fold bias (or 3 yards for each layer of tulle if you want to edge more layers)
2-3 buttons
Thread
Dental floss (yup, you read that right, dental floss!)

BODICE
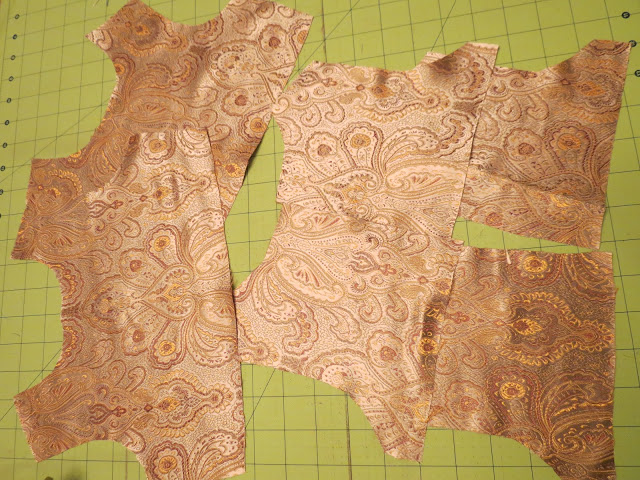
First up, the bodice. You’ll want to make the bodice first because you’ll be using it to figure out how big to make the waist of the skirt. I’m a quilter and am new to this whole making dress thing. I found the best free pattern and detailed directions for putting the bodice together over at The Cottage Mama’s Party Dress. Her directions are clear and full of great pictures. The way she constructs it is awesome to use with this dress… It’s a lined bodice and the skirt is completely encased in the bodice, giving it a really finished look. I give her mad props for such awesome details on how to do it.
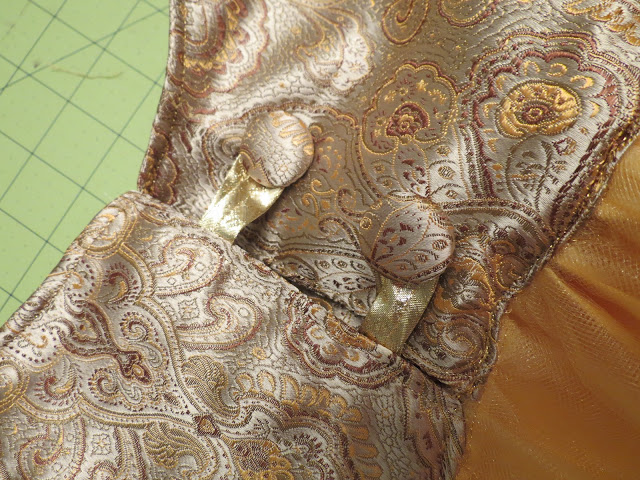
Here’s some things that I did different – On the Minnie Dress I used 3 buttons on the back. On the Belle Dress I only used two buttons for the closure on the back. And instead of making the button loops like she did, cut off two 4 inch pieces of the double fold bias tape.

I sewed them closed and used them.
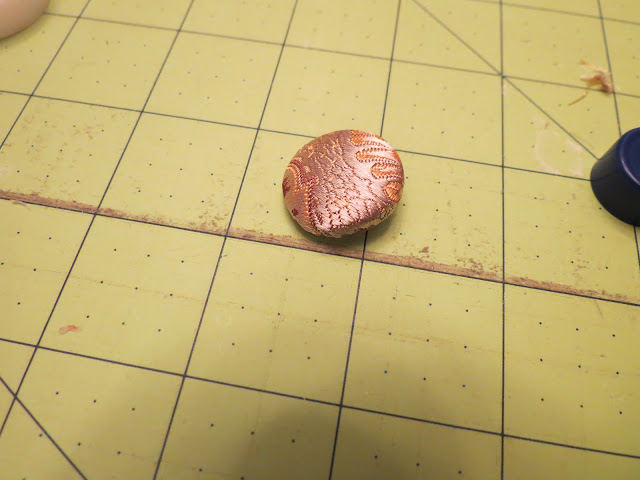
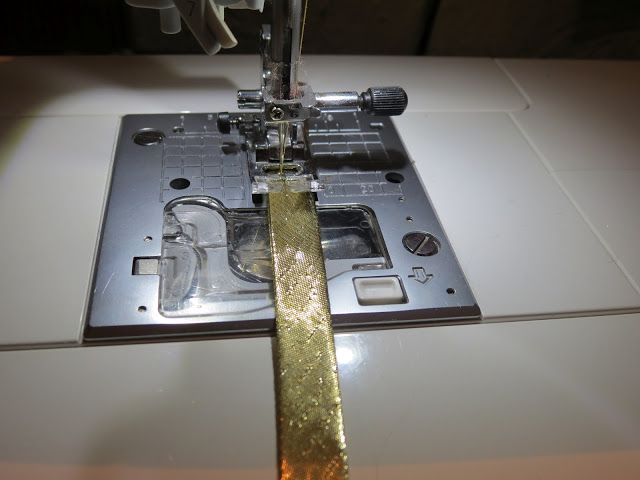
Also, I made my own buttons using a kit I picked up at Hancock Fabrics. It is so much fun to make your own buttons! (Which is part of the reason I only did two buttons on this dress – it was all I had left!)
Alright, head on over to The Cottage Mama to get your bodice done and then come right back and I’ll explain the skirt!
(I did a major oops at this point – I’m all about keeping this real! My pattern for the back was folded over on the bottom and I didn’t notice it until I went to match up the bottom with the top. Yeah, it was a whole lot smaller (you might notice it in the picture). I trimmed the front pieces to match and it made things a little tight when it came to later construction, but I made it work! That’s what you get for working at 2am…)
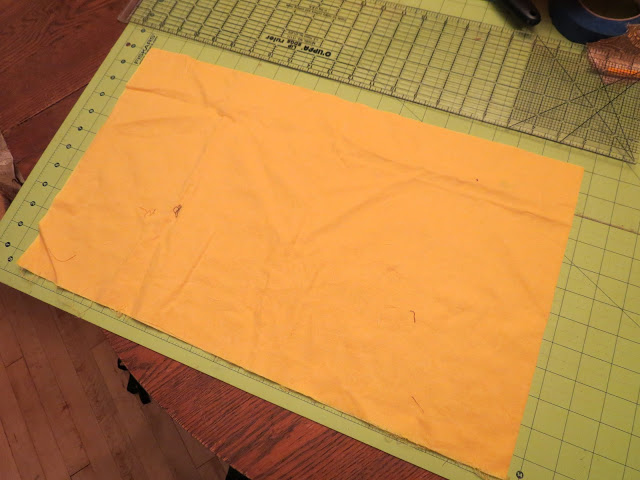
UNDERSKIRT
To give the dress some shape and to keep those Pampers hidden, there’s an underskirt.
Take your underskirt fabric and cut it the WOF x 12″.
Match up the 12″ sides, wrong sides together. (You’re going to do a french seam here.) Stitch with a 1/4″ seam.
Flip the fabric around so that the right sides are together. Press the seam.
Now sew a 1/2″ seam on the side where you sewed the 1/4″ seam. See how that seam is now enclosed? No loose threads! YAY! Now if you have a serger, go ahead and sew it up that way or any other way you like to finish off a seam.

Now is when you get to bust out the floss! Take a piece that is about 5 inches longer than the circumference of your skirt.
Set your machine to a wide zig zag with a longer stitch length.
Place the floss on top of the skirt near the edge that will be your waist and zig zag stitch over the top of it, being careful not to sew into the floss.

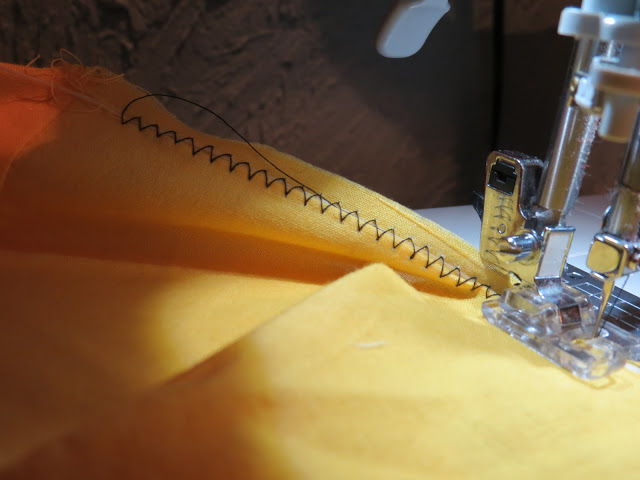
(I used contrasting thread here so you can see what it looks like. I’d recommend using thread that matches your fabric.)
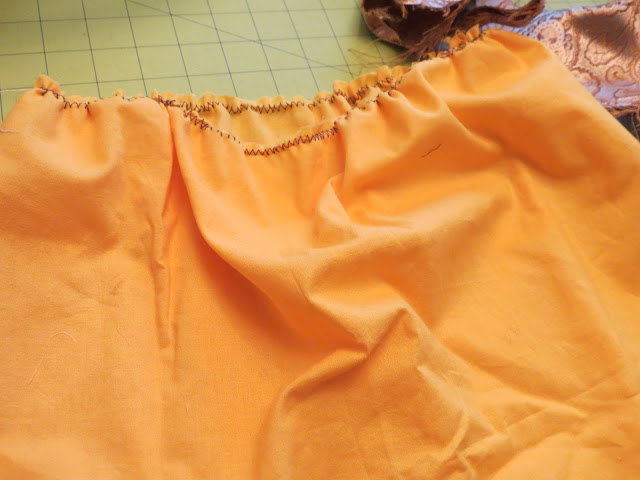
Now gather up your skirt so that it’s the same circumference as your bodice. This is why the dental floss is nice – it’s a lot stronger than thread! Knot the floss to keep the skirt at the appropriate size.
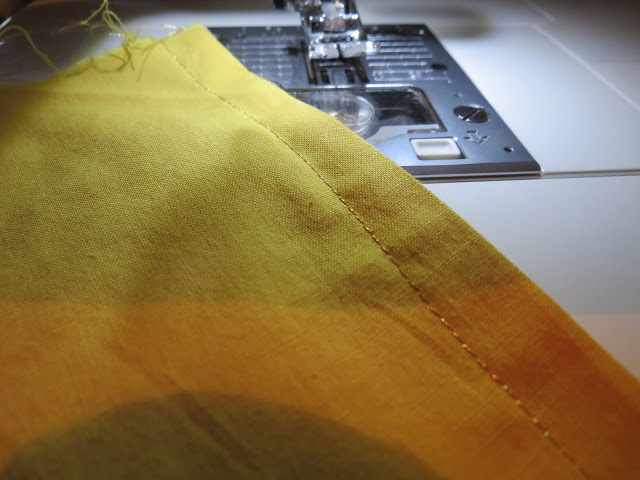
Next do your hem on the bottom of the skirt. I pressed mine up 1/2″ and then folded it over again.
I picked a fun decorative stitch to secure the hem.

Set the underskirt aside for a bit.
Now it is time to get out the tulle!
TULLE SKIRT

Cut your tulle to size
This is where things can possibly get annoying. Tulle is tricky to work with. It’s hard to see edges when you’re trying to line a couple pieces up. (especially when they’re yellow – I found the red A LOT easier to sew with) It’s hard to hang on to. Pins just slide right out. You may want to make sure the kids are out of earshot because this stuff can make you want to say not-so-kid-friendly words. BUT YOU CAN DO IT!! Here’s some pixie dust for cooperative tulle!
Take one piece and join the short ends together with a 1/2″ seam
Repeat for the remaining three pieces.
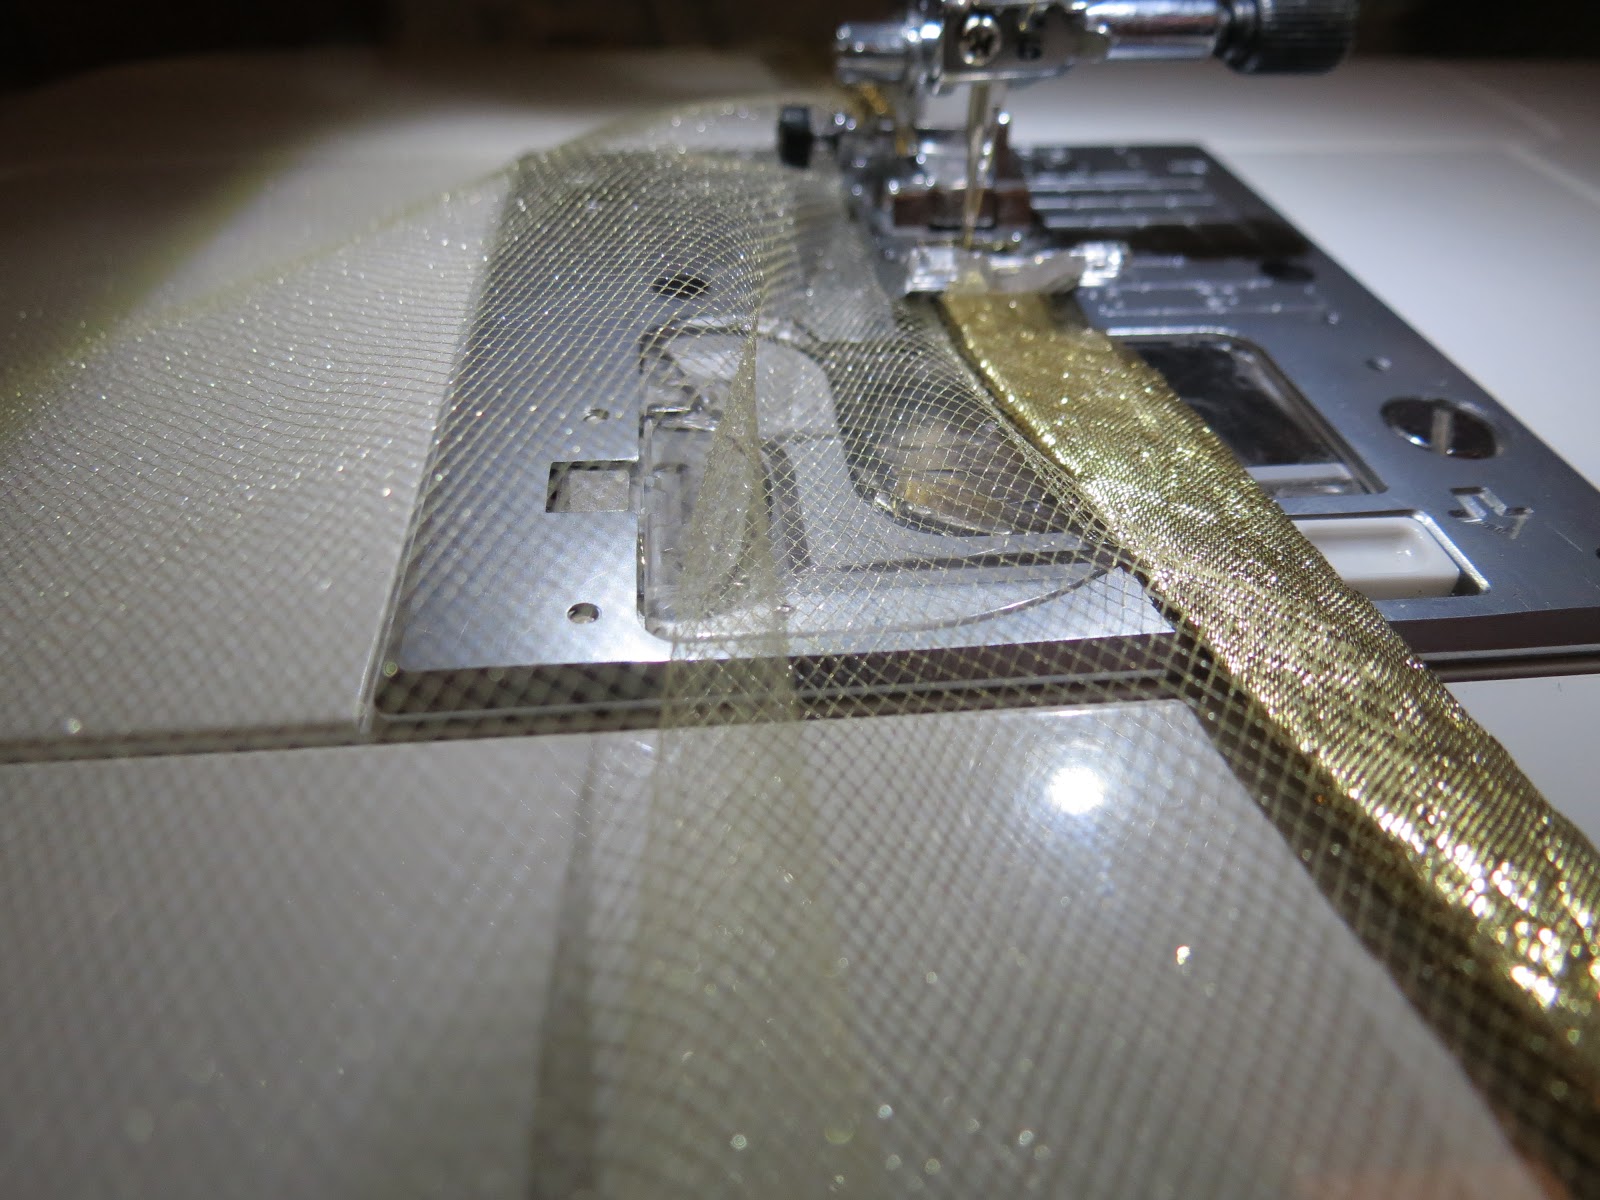
Take one piece of your tulle and grab your double folded bias tape.
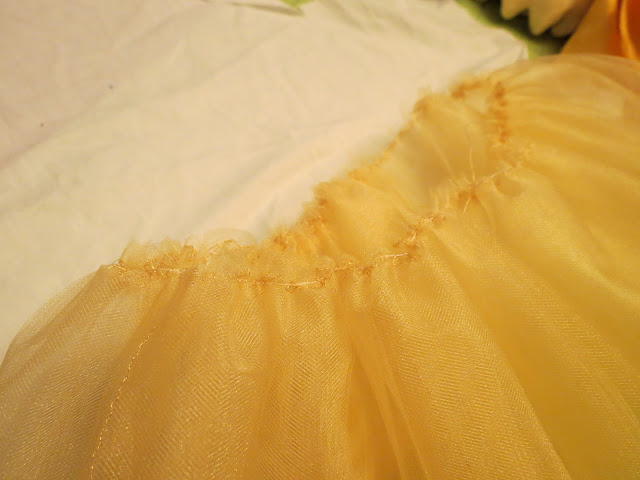
Stitch your bias tape to the bottom edge of the tulle.
On the Minnie dress I did bias tape on every layer of tulle. For the Belle dress I only did it on the outside layer. Your choice!
Now take two of the tulle circles and insert one piece inside the other (make sure both your side seams are facing the right way). Join the pieces together around the waist with a 1/4″ inch stitch.
Repeat to join the other two pieces.
This may seem redundant, but it’s easiest to work in a couple of layers at time. I tried to do it all at once and I almost threw the whole thing in the garbage I was so frustrated!
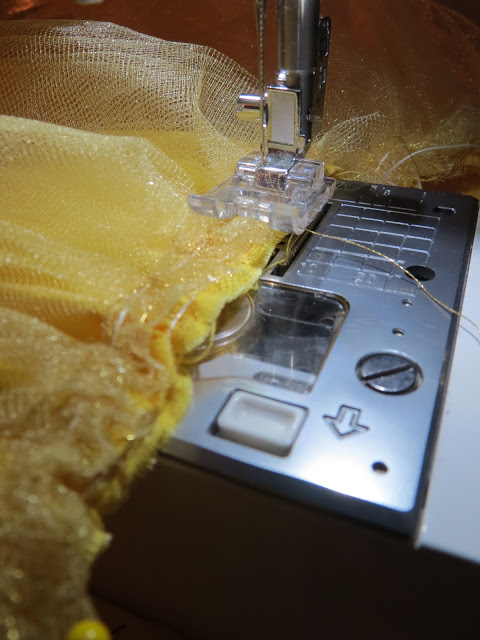
Grab another L-O-N-G piece of floss and get your machine set to the wide zig zag again.
Insert each of the tulle circles inside one another, being careful to keep the bias hemmed piece on the outside layer. You’ll now have all four layers of tulle together.
Lay the floss on top like you did for the underskirt and sew a zig zag over the floss, joining your pieces of tulle together. It’s helpful if you can keep your previous stitches lined up on top of one another and then lay the floss on top of that.
Cinch up your skirt over the floss to match the size of your bodice and underskirt.
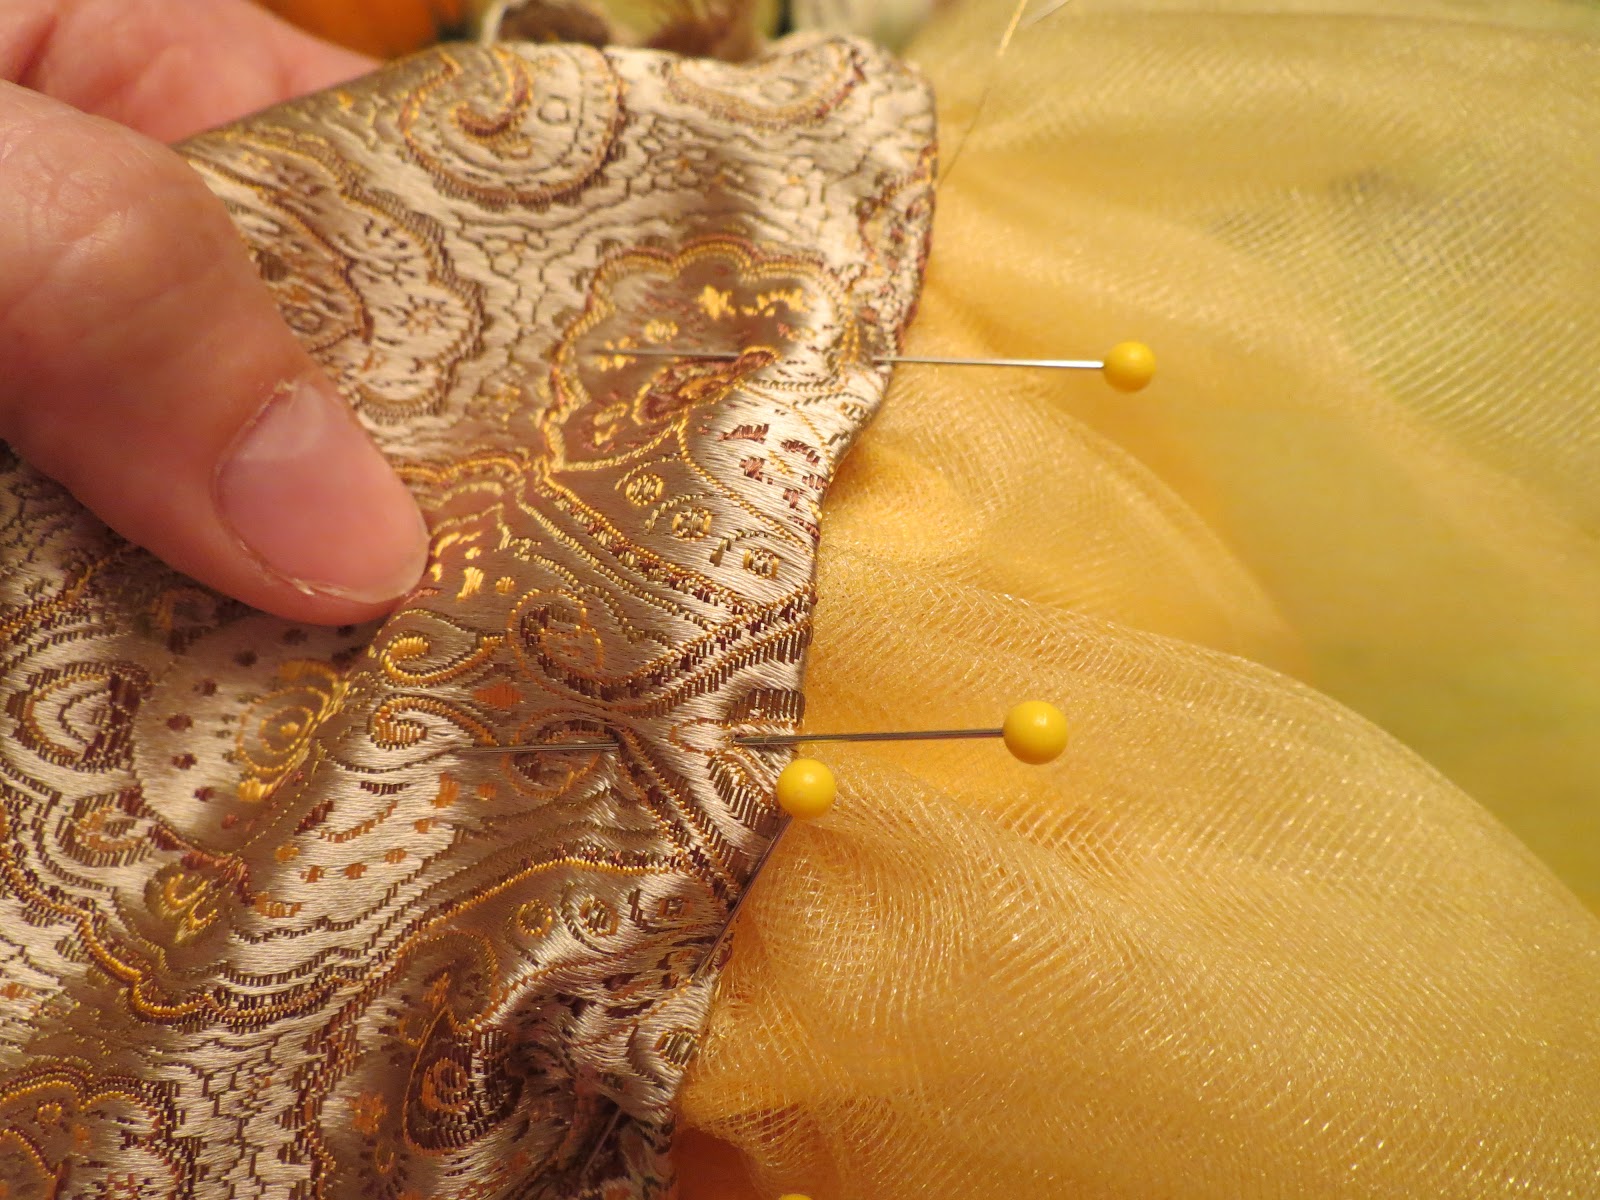
Now take your underskirt and tulle and join them together using a straight stitch.
JOINING THE SKIRT TO THE BODICE
Refer back to The Cottage Home if you’d like to see how to put the skirt inside the bodice. Because I find working with the tulle can be a bit tricky and I had cut my bodice wrong so I had less room to work with, I topstiched only the outside piece of the bodice to the skirt. Then when I was done with that, I used a blind stitch to attach the inside of the bodice to the skirt. I actually liked this finish better than sewing through the outside bodice, the tulle/underskirt and then the inside of the bodice all at once. Made for a neater finish on the inside.
Here’s a picture of the back…
And you’re done! Pretty as a Princess!

Have a magical day!


this is gorgeous! thanks for the detailed tutorial!
The tutorials are GREAT, Kim!! You make it look so easy! I LOVE the way the dresses turned out (and your little one is absolutely adorable)! I agree with you–my granddaughter loves the Disney princesses, too, so I have a feeling that there may be a few of these in her future! 🙂
I have a feeling that her mommy will want to keep all of the different sized dresses made for her over the years, too, for her little play friends to use when they dress up!!!
Thank you SO MUCH!!!
BTW, The Cottage Mama (not Cottage Home) is the site, but your link does go to CM’s page.
Hi Michelle! I’m glad you like the post. This was actually a guest post by Michelle from Life on the Selvage Edge, so the praise should go her way.
Thanks for letting me know about the broken link. At the time the post was written it actually was The Cottage Home – looks like she has updated her site and name and I will try to see if I can locate the correct link.
Thanks for stopping by!
Hi…I want to make the “Baby Belle” for my great nieces first birthday…her name IS Annabelle!
I’m using a smaller bodice pattern, but would really like to use the one from The Cottage Momma but haven’t figured out how to get it..even though I’ve signed up for the email and joined her pattern group on FB.
I’m a bit confused as to to how to cut the tulle…WIF or??? Also, I was thinking of graduating the layers to make tiers..all edged with the bias tape.
Can you please help me understand the tulle cutting?
Thanks so much..and I’ll try to remember to send a pix of Annabelle in her 1st Birthday dress (I also intend to make “Birthday Belle” dresses for her as she gets older, depending on how she likes them)
This was a guest post by http://www.lifeontheselvageedge.blogspot.com/ – you’ll want to get in touch with her for any questions. Best of luck!