“April Showers Bring May Flowers” Spring Coloring Sheet
Looking for a fun and engaging way to celebrate spring with your kids? This “April Showers...
by Kim Morgan | Apr 9, 2024 | for kids, freebies, kids crafts, miscellaneous printables, printables | 0 |
Looking for a fun and engaging way to celebrate spring with your kids? This “April Showers...

by Kim Morgan | Mar 20, 2024 | Fashion | 0 |

by Kim Morgan | Mar 18, 2024 | DIY and Crafts, kids crafts, tutorial | 11 |

by Kim Morgan | Feb 29, 2024 | DIY and Crafts, sewing, tutorial | 24 |

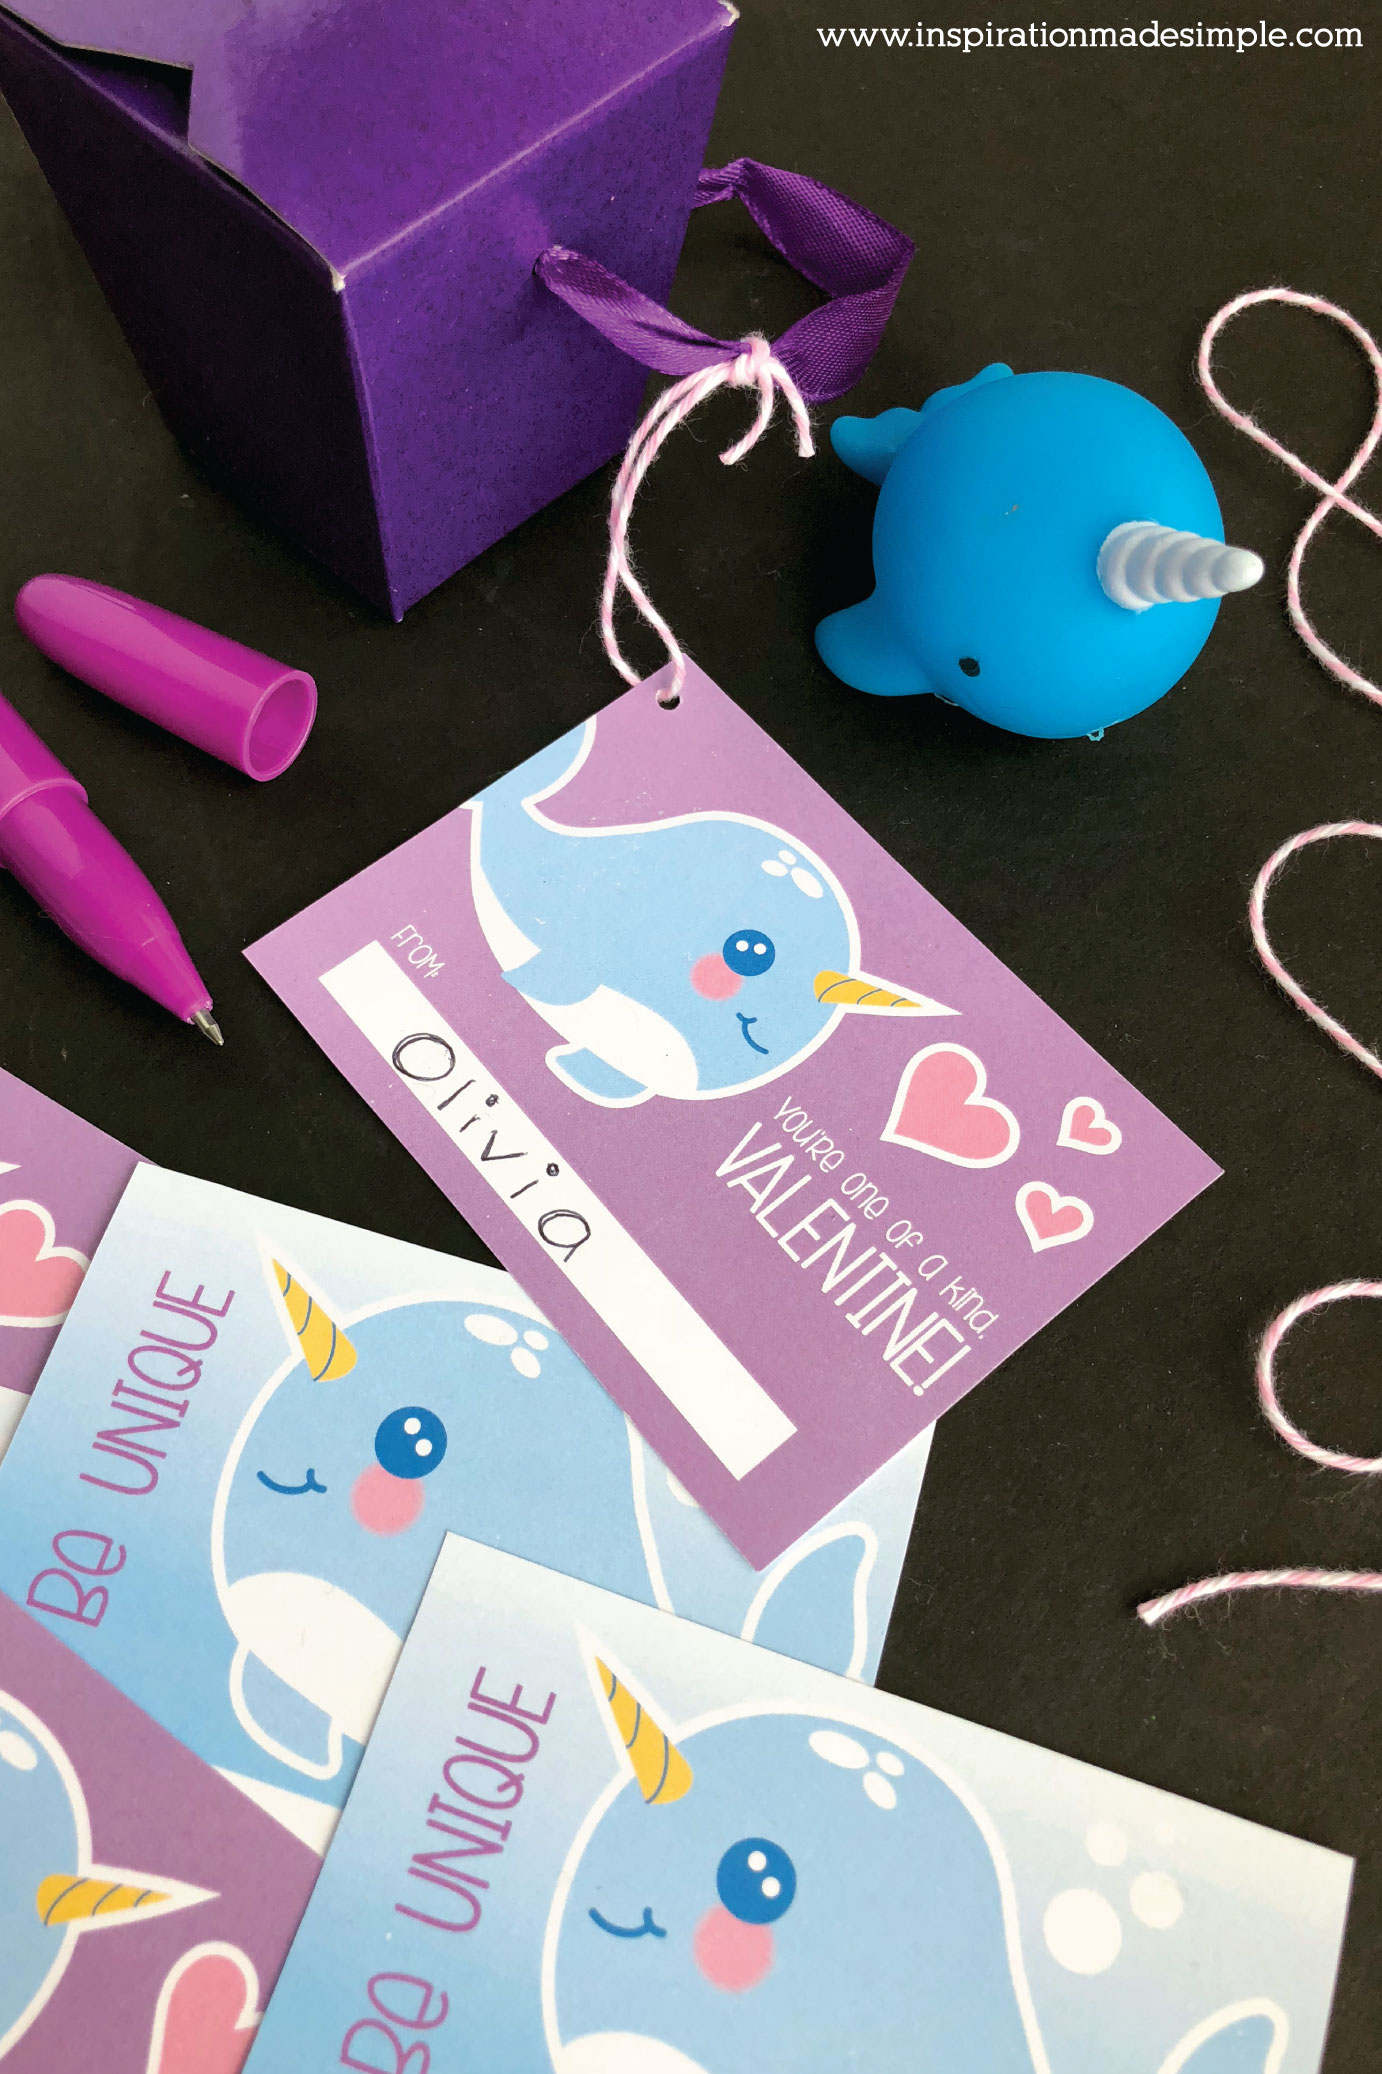
by Kim Morgan | Jan 30, 2024 | freebies, holiday printables, holidays, printables, valentine's day, Valentine's Printables | 2 |

by Kim Morgan | Jan 25, 2024 | Fashion | 0 |
Trending

Inspiration straight to your inbox, never miss a post!
